I’m tellin’ ya, life is interesting. The choices we make are interesting.
As I am typing my little blog post this morning I am enjoying some great whole grain rustic loaf toast with black raspberry jelly (last jar from last summers canning goodness)…
I slathered my toast with the jelly deliciousness and as I’m eating and attempting to type (with a bandaged right index finger from a deep cut on the tip… stupid piece of metal sheeting roofing thingy attacked me) I notice the jelly slowly inching its way closer to my toast’s edge.
I raise my left hand up (toast holding hand), tilting the toast the other way so the jelly heads south instead of north (or west to east, left to right, up to down, who knows…) and continue to try to type with my right hand… ouch ouch ouch every time I tap a key with my index finger.
Another choice I could have made was to put the toast down and take a little break from typing when I wanted to steal a bite. But then could I truly be the multitasking mom, blogger and superwoman that I continually and foolishly try to be?
Lemon Shrimp Linguine (both of my sons LOVE this dish and have since the day I first made it so many years ago)
Ingredients:
2 to 3 lemons (depending on size)
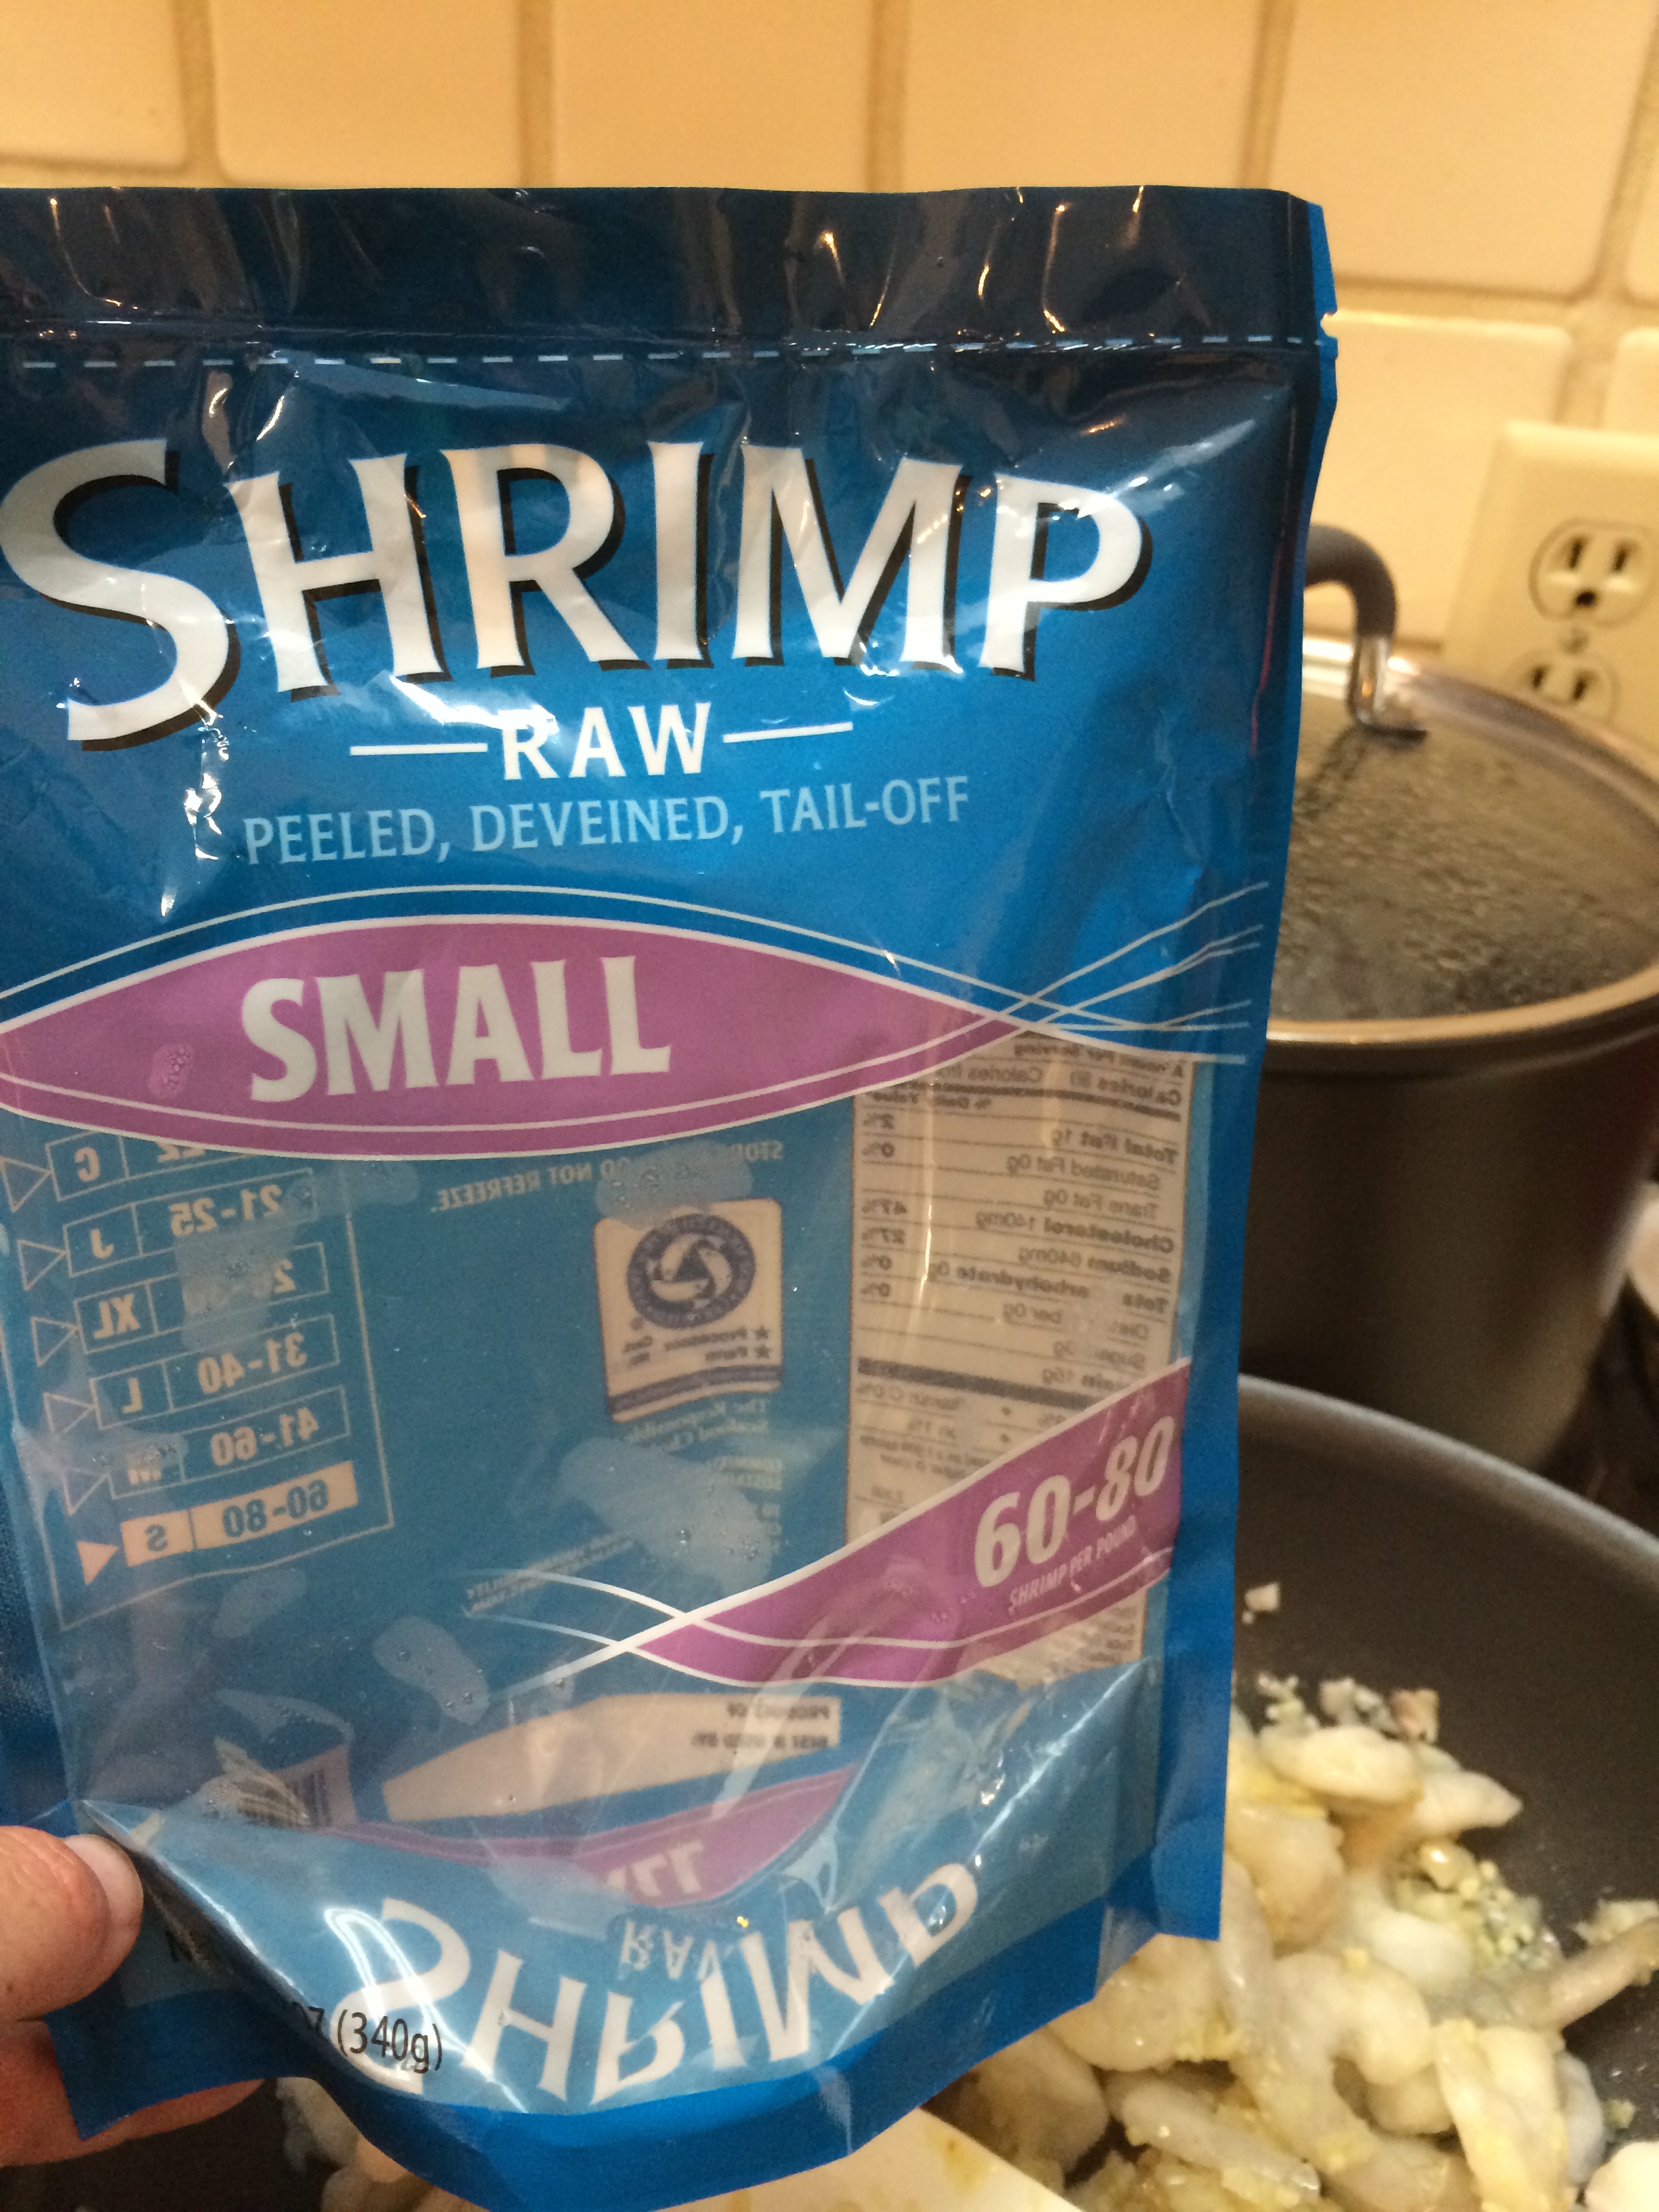
1 pound of frozen or fresh uncooked, peeled, deveined, and tail off shrimp
Linguine noodles
1/4 cup plus 2 Tbs olive oil
2 shallots (small onions usually pre-packaged in mesh bags of two or three. If you can’t get them I have used white and vidalia onions as well. Use 1/4 of a large onion. Grow some shallots this year in your garden or a pot… SOOOOO yummy and they can be kinda spendy in the store)
Garlic (4 cloves or 1 Tbs plus 1 tsp)… not a fan of garlic? Why? it is so very good for you. but if you insist you can use less
Fresh (or bagged) spinach
Parsley (fresh)
Salt
Pepper
Oh great a glob of jelly just went down my arm and the sleeve of my robe. Those globs really get going when helped along by gravity. I could not get to it quickly enough and I was just trying to save the keyboard! I need some coffee and did anyone just see that squirrel?
I think it’s going to be one of those mornings… the ones where nothing goes as planned, I’m on the verge of being cranky for no apparent reason but seem to think I have every right to be, and I will flitter about staying ever so busy but have no finished task to show for my work. Oh yes and it’s Thursday, my homework is due tonight (working on my Masters in Education) UGH!!
I’m back… all cleaned up and with coffee. Did I mention I have a cracked tooth and the soonest our dentist can get me in is next Wednesday? My amazing and supportive husband mentioned that maybe I should find a backup dentist but I refuse because my current dentist gives me awesome gas so I don’t feel the numbing shot. I’ve grown quite fond of that gas. Judge me as you will… I’ve never done illegal drugs so this is the closest thing I will ever get to “high”… I think it’s nitrous oxide? Nitrogen and Oxygen… it certainly can’t be bad for me because those are things we breathe every day (yes, I know my logic is grossly skewed) but I do wonder how many brain cells I’m willing to risk in the name of comfortable dentistry.
I have to admit, lately with all the dentistry I’ve had I actually look forward to sitting in that chair and just relaxing… no where else to be, nothing else I can do, and no one expecting conversation. I think I’ll send him a thank you note 🙂
Let’s try this again…
Lemon Shrimp Linguine (both of my sons LOVE this dish and have since the day I first made it so many years ago)
Ingredients:
- 2 to 3 lemons (depending on size)
- 1 pound shrimp (frozen or fresh… uncooked, peeled, deveined, and tail off)
- linguine noodles
- 2 shallots (small onions usually pre-packaged in mesh bags of two or three. If you can’t get them I have used white and vidalia onions as well. Use 1/4 of a large onion. Grow some shallots this year in your garden or a pot… SOOOOO yummy and they can be kinda spendy in the store)
- Garlic (4 cloves or 1 Tbs plus 1 tsp)… not a fan of garlic? Why? it is so very good for you. but if you insist you can use less
- 1/4 cup plus 2 Tbs olive oil
- Fresh (or bagged) spinach (1 small or medium bag)
- Parsley (fresh)
- Salt
- Pepper
It’s a good idea to use a nice big stock pot to cook your pasta. Pasta needs plenty of room to move around when boiling to help prevent a sticky starchy mess. Perfectly cooked pasta is called “al dente,” which in Italian means “to the tooth.” Al dente pasta is cooked just enough to retain a firm texture while being fully pliable.
Some tips for telling when pasta is al dente…
- Boil the pasta according to the package’s instructions.
- At the minimum cooking time indicated on the package, or even a minute before, remove a piece of pasta from the boiling water with a fork.
- If the pasta is mildly chewy but doesn’t stick in your teeth, it is done.
- If the pasta seems a little hard or sticks to your teeth, cook it 1 minute longer and test it again.
- If you don’t relish tasting hot pasta, cut a piece in half. Then look at the cross-section of the pasta. If you can see a difference between the very center and the outer ring of the pasta, it’s not done. If the pasta is one continuous shade and texture, it’s done.
- Don’t ever rinse your pasta
Steps:
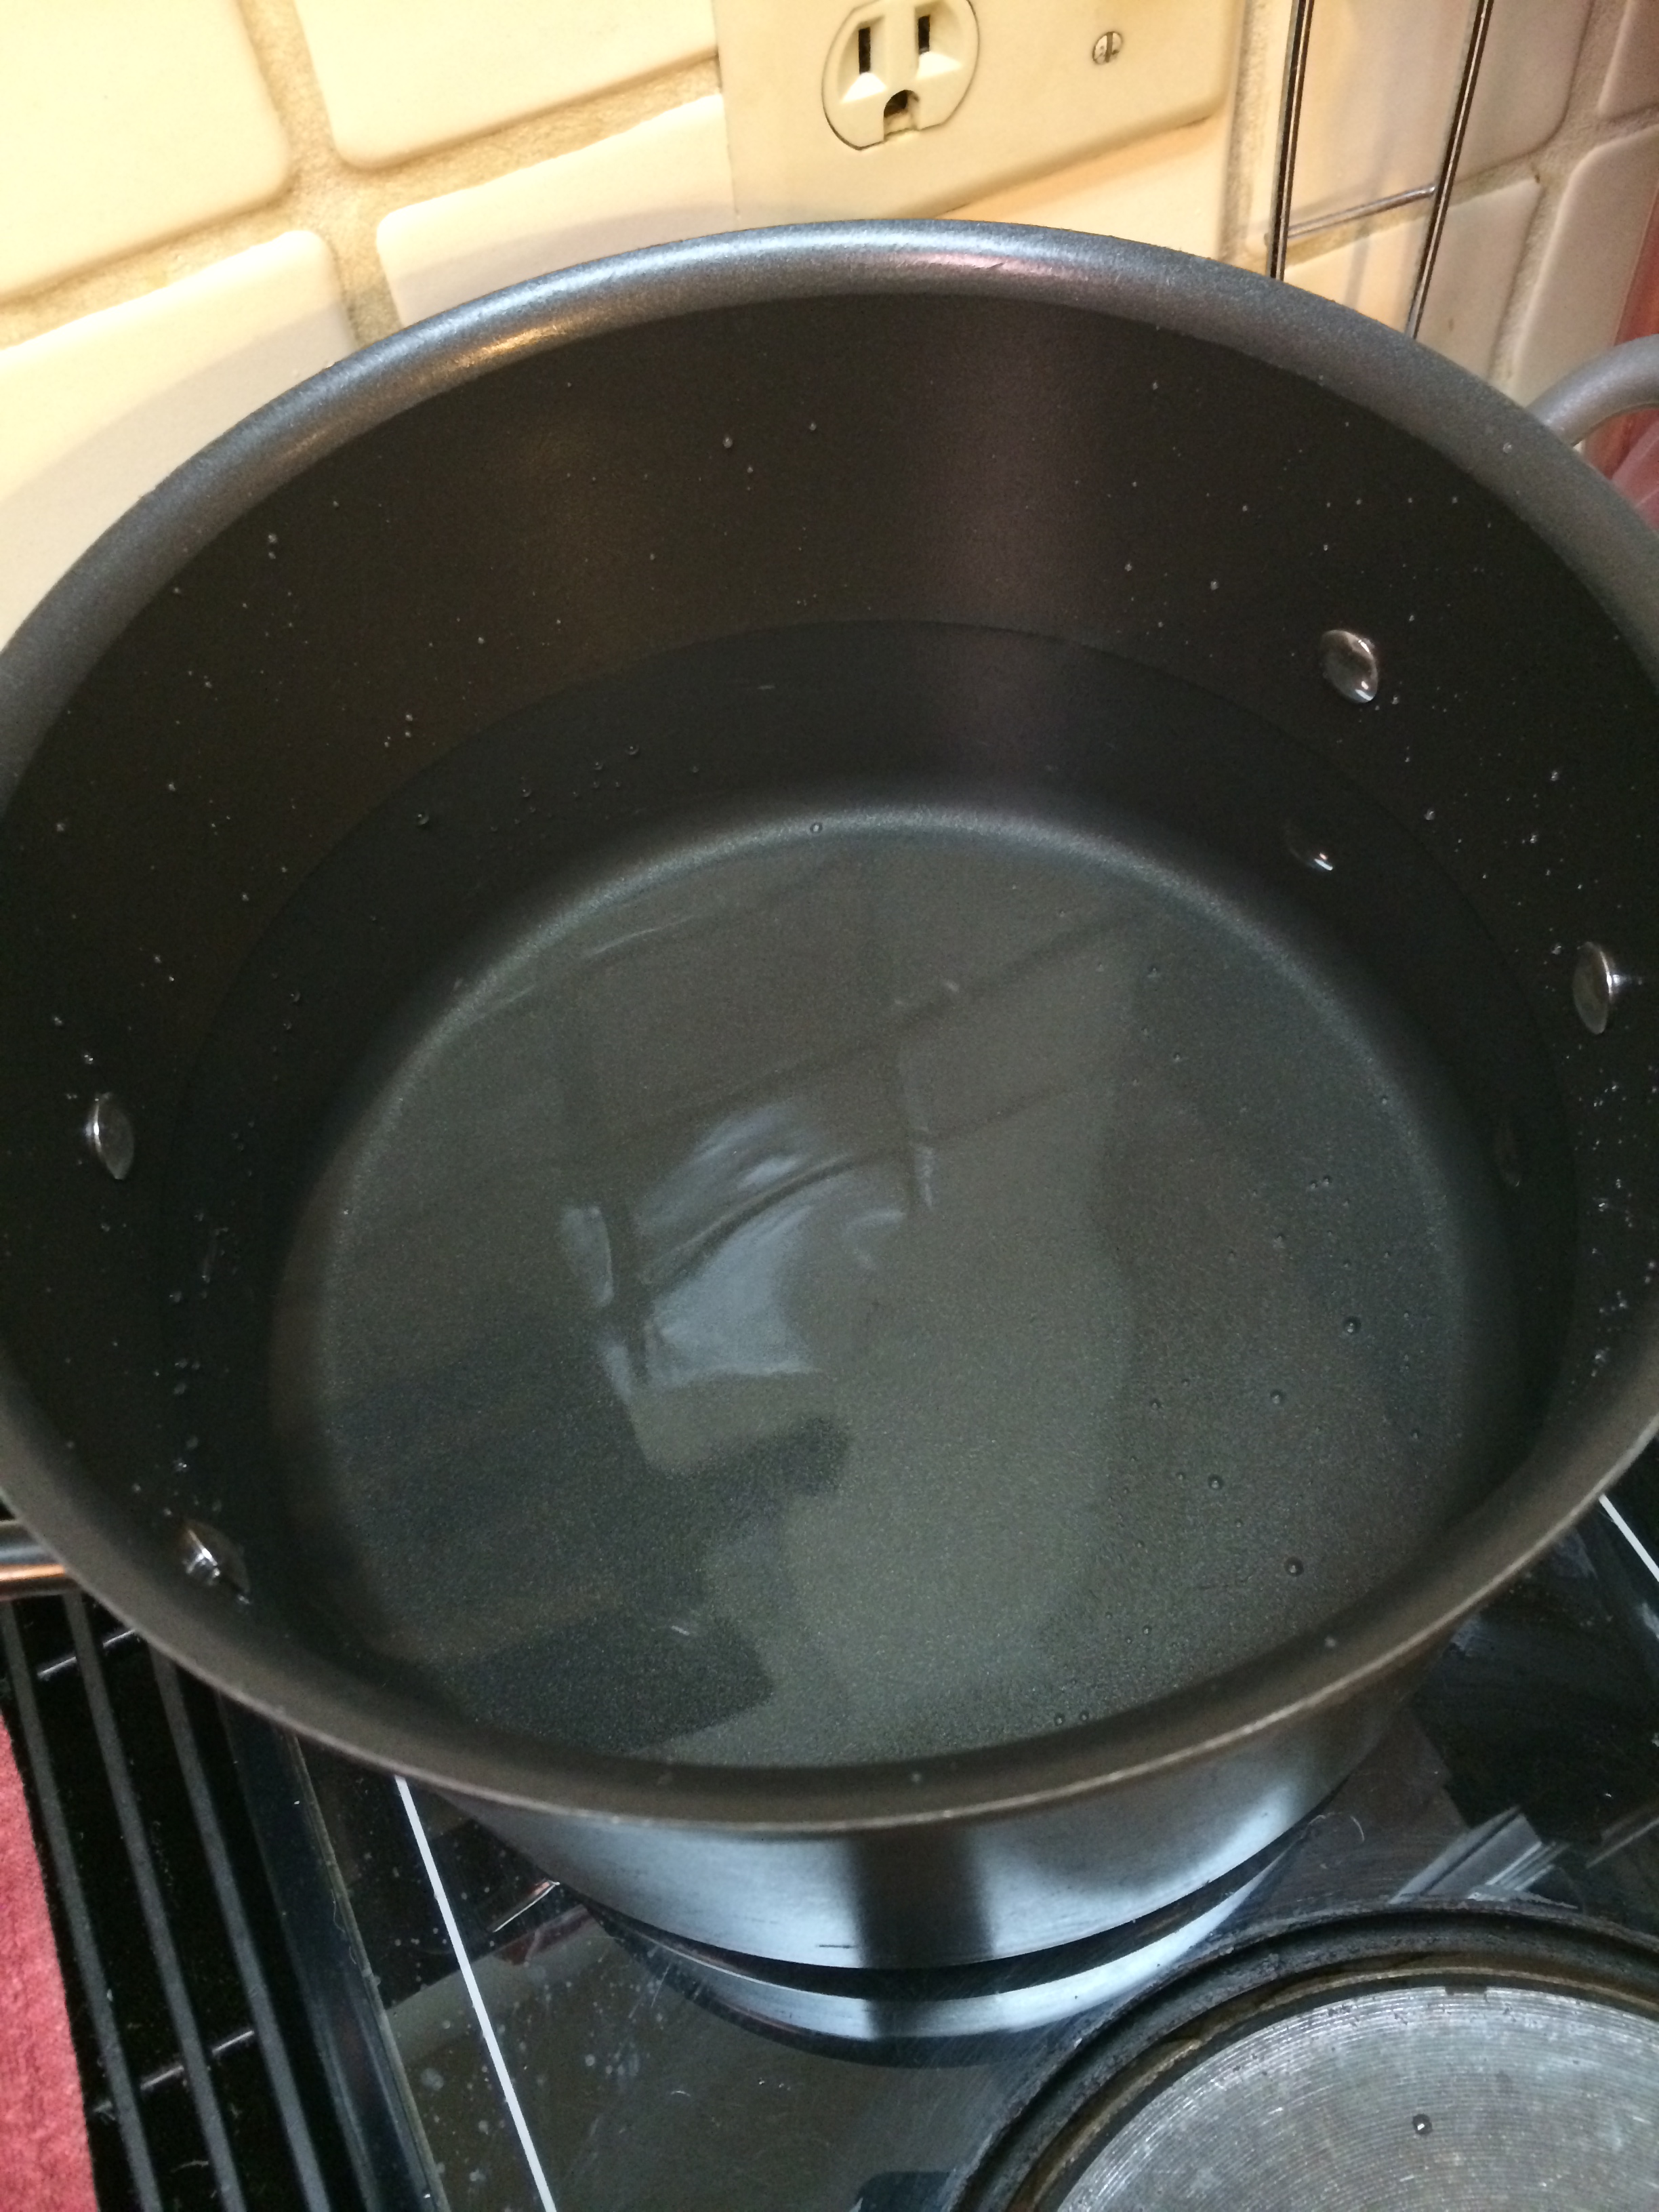
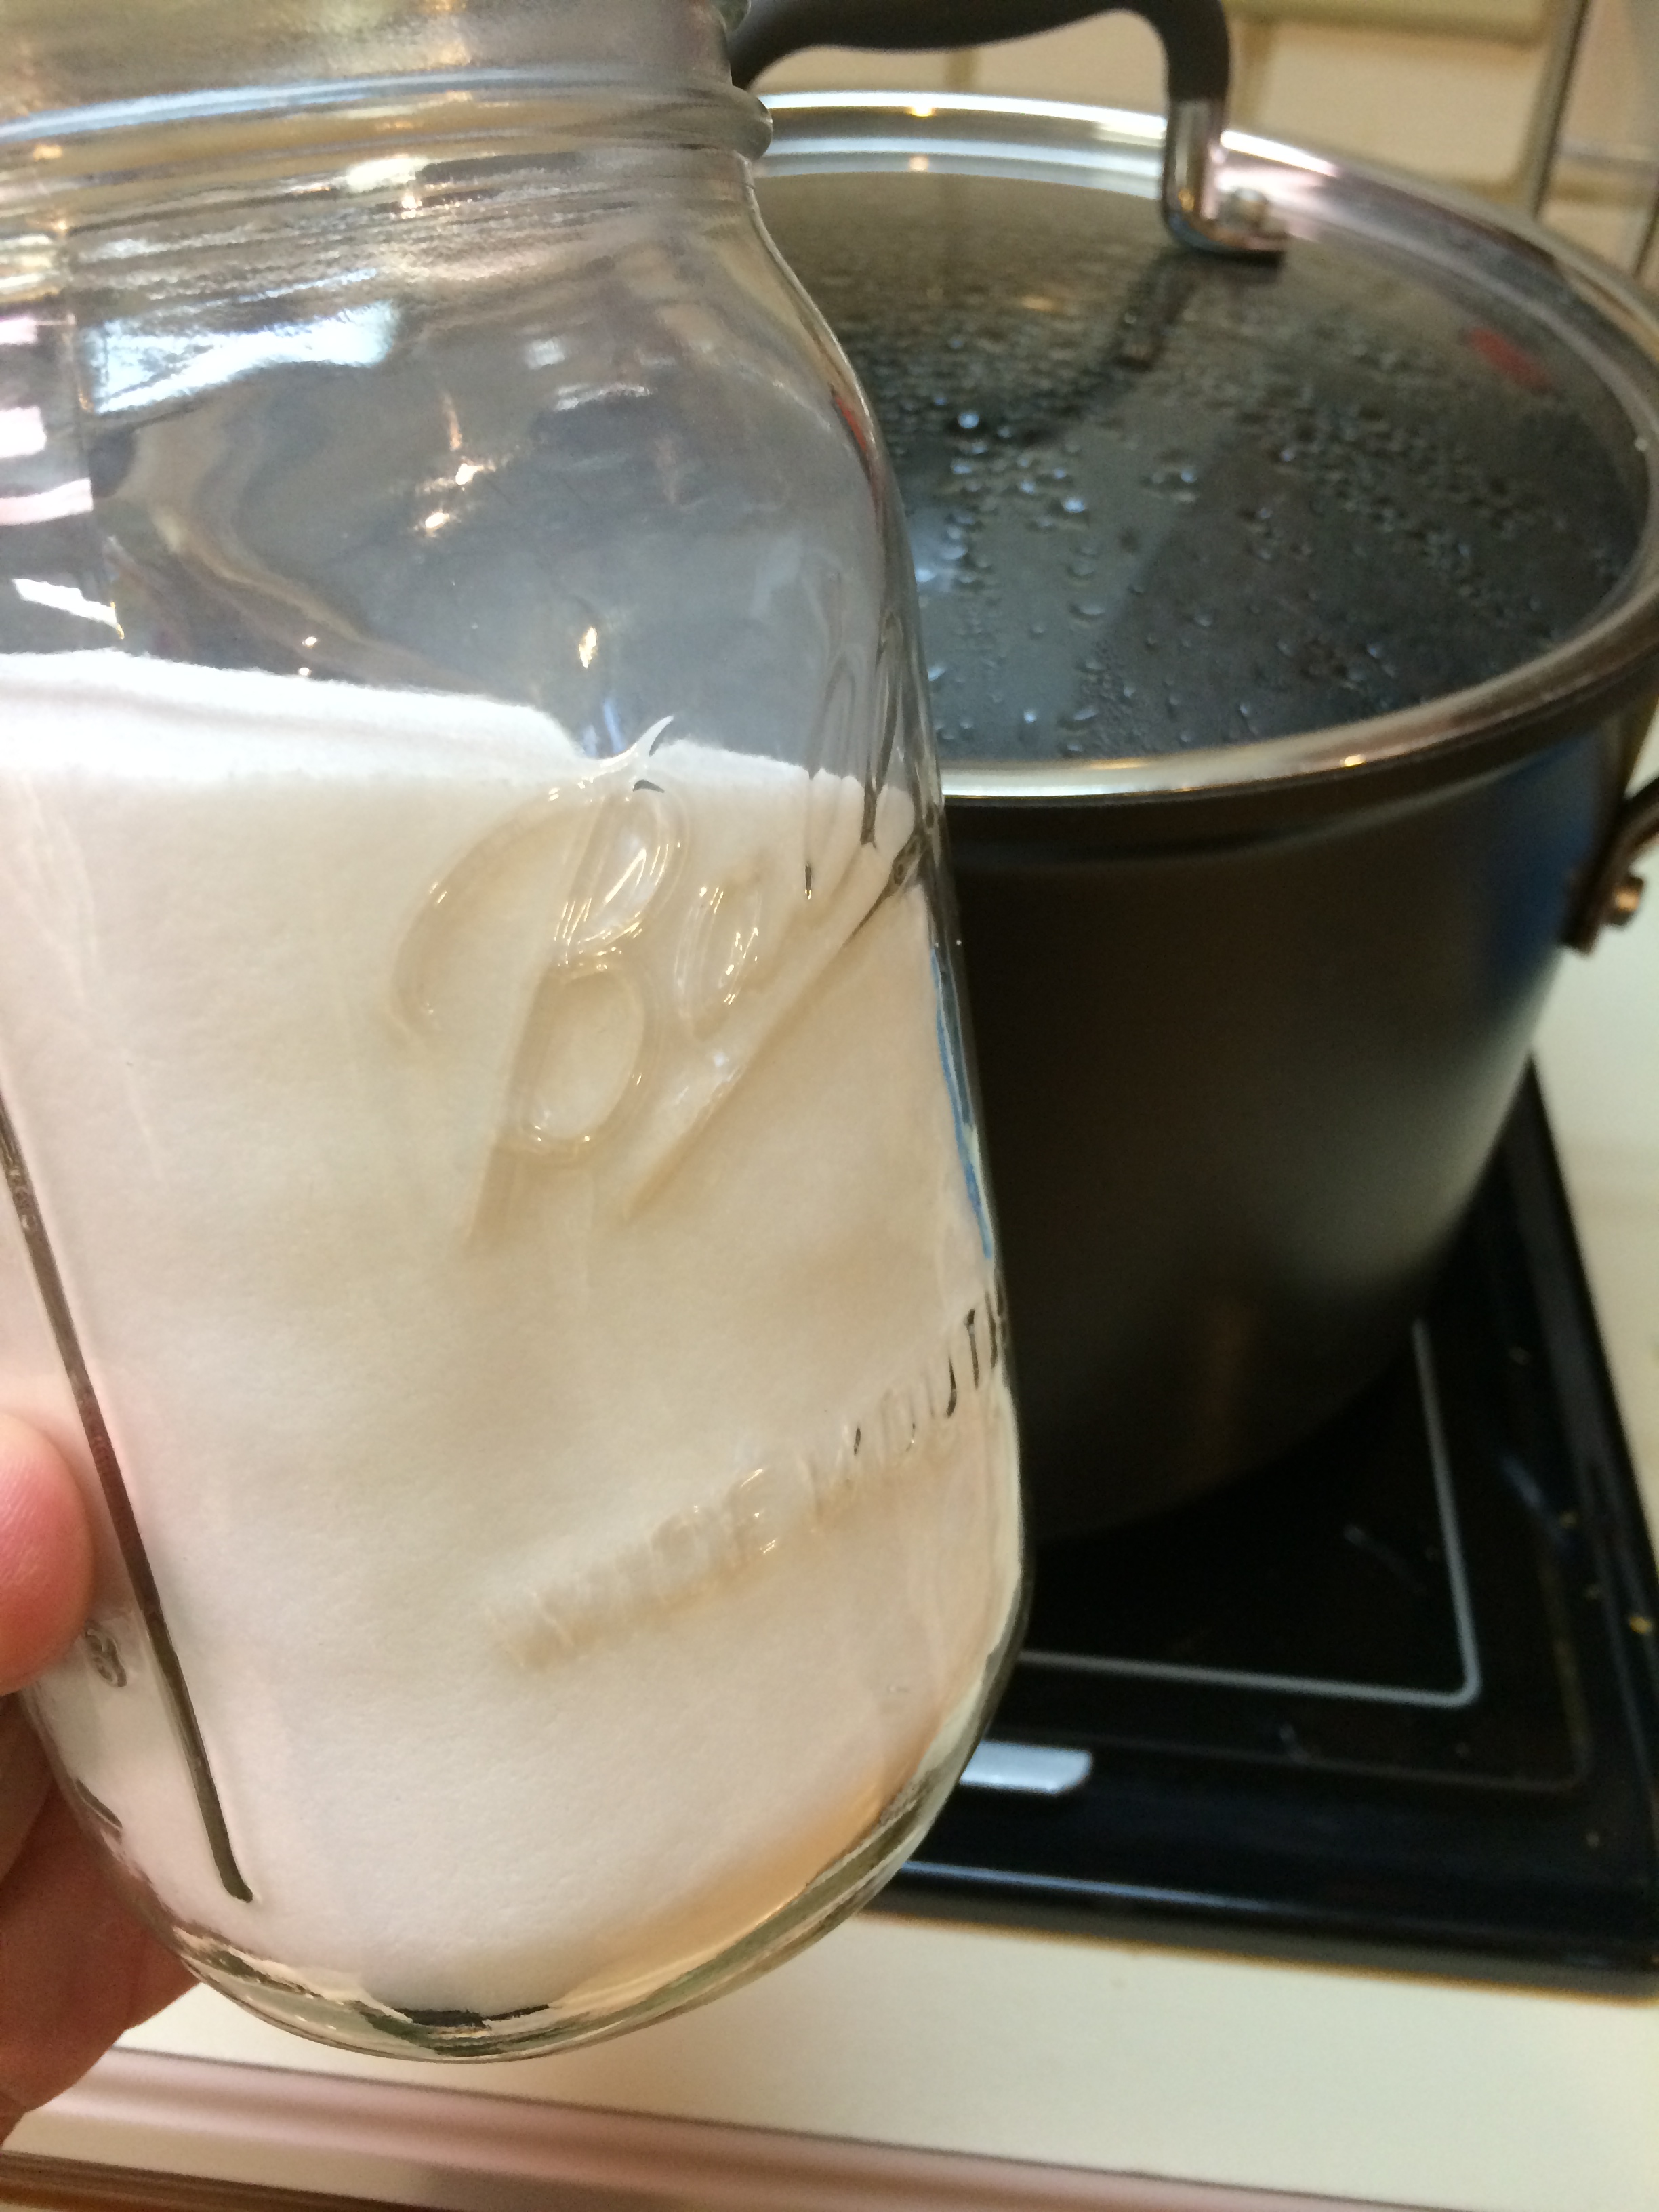
1.Put your pot of water on the stove and turn to high to get it a boilin’ (I use a gallon of water in my large stock pot). Cover pot (if you have a cover, no big deal if you don’t).

Pot of water … watched pot never boils… stop watching my pot!
2. Zest 1 lemon
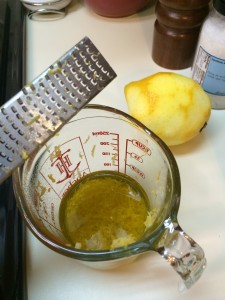
*don’t have a zester?… it’s a really good tool to have in the kitchen! Pampered Chef has a great one or check out reviews on Amazon.com for a good one. You want a high quality zester for the same reason that you want a high quality knife, easier to use and safer (usually holds their “sharpness longer” therefore making it easier and safe to cut (knife) or zest (zester) things). Place your zest from 1 lemon into the 1/4 cup of olive oil, give it a little stir and set it aside.
Ooh I have an idea… if you share and comment below this post I will enter you into a drawing for a free Pampered Chef zester! The name will be drawn randomly This Sunday, March 30th at 7:00pm central time so share and comment before then. I’ll mail it to the winner (or deliver if you are local).
The zester (this one is Pampered Chef)
3. Zest your second lemon into/onto (whatever… grammar is not my strongest point) a bowl or plate. Did you know you get more juice out of a lemon when it is at room temperature You do!
Cut all the lemons in half and juice them (with a juicer or the sheer strength of your hands). Pick out all seeds (if you squeezed by hand), no one wants to eat lemon seeds. You will want about 1/4 cup of lemon juice (no more but it can be a bit less). Add the zest of your lemon (on the plate or in the bowl) to your lemon juice and set aside.
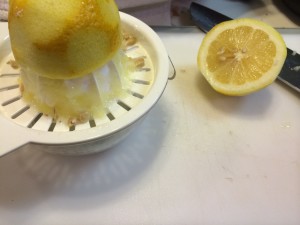
Just a juicin’!
4. Finely chop your shallots and mince your garlic. If you have a garlic press I highly recommend you mince fresh garlic cloves but to be honest there are some great brands of already minced garlic out there that taste just as good and make 1 less dirty dish (oh wait… you won’t be scooping it out of the jar with your fingers, you will need a spoon so I guess the amount of dirty dishes remains the same).
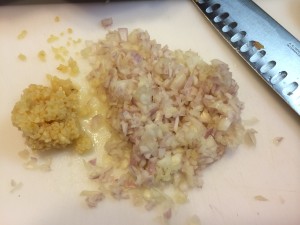
- garlic and shallots
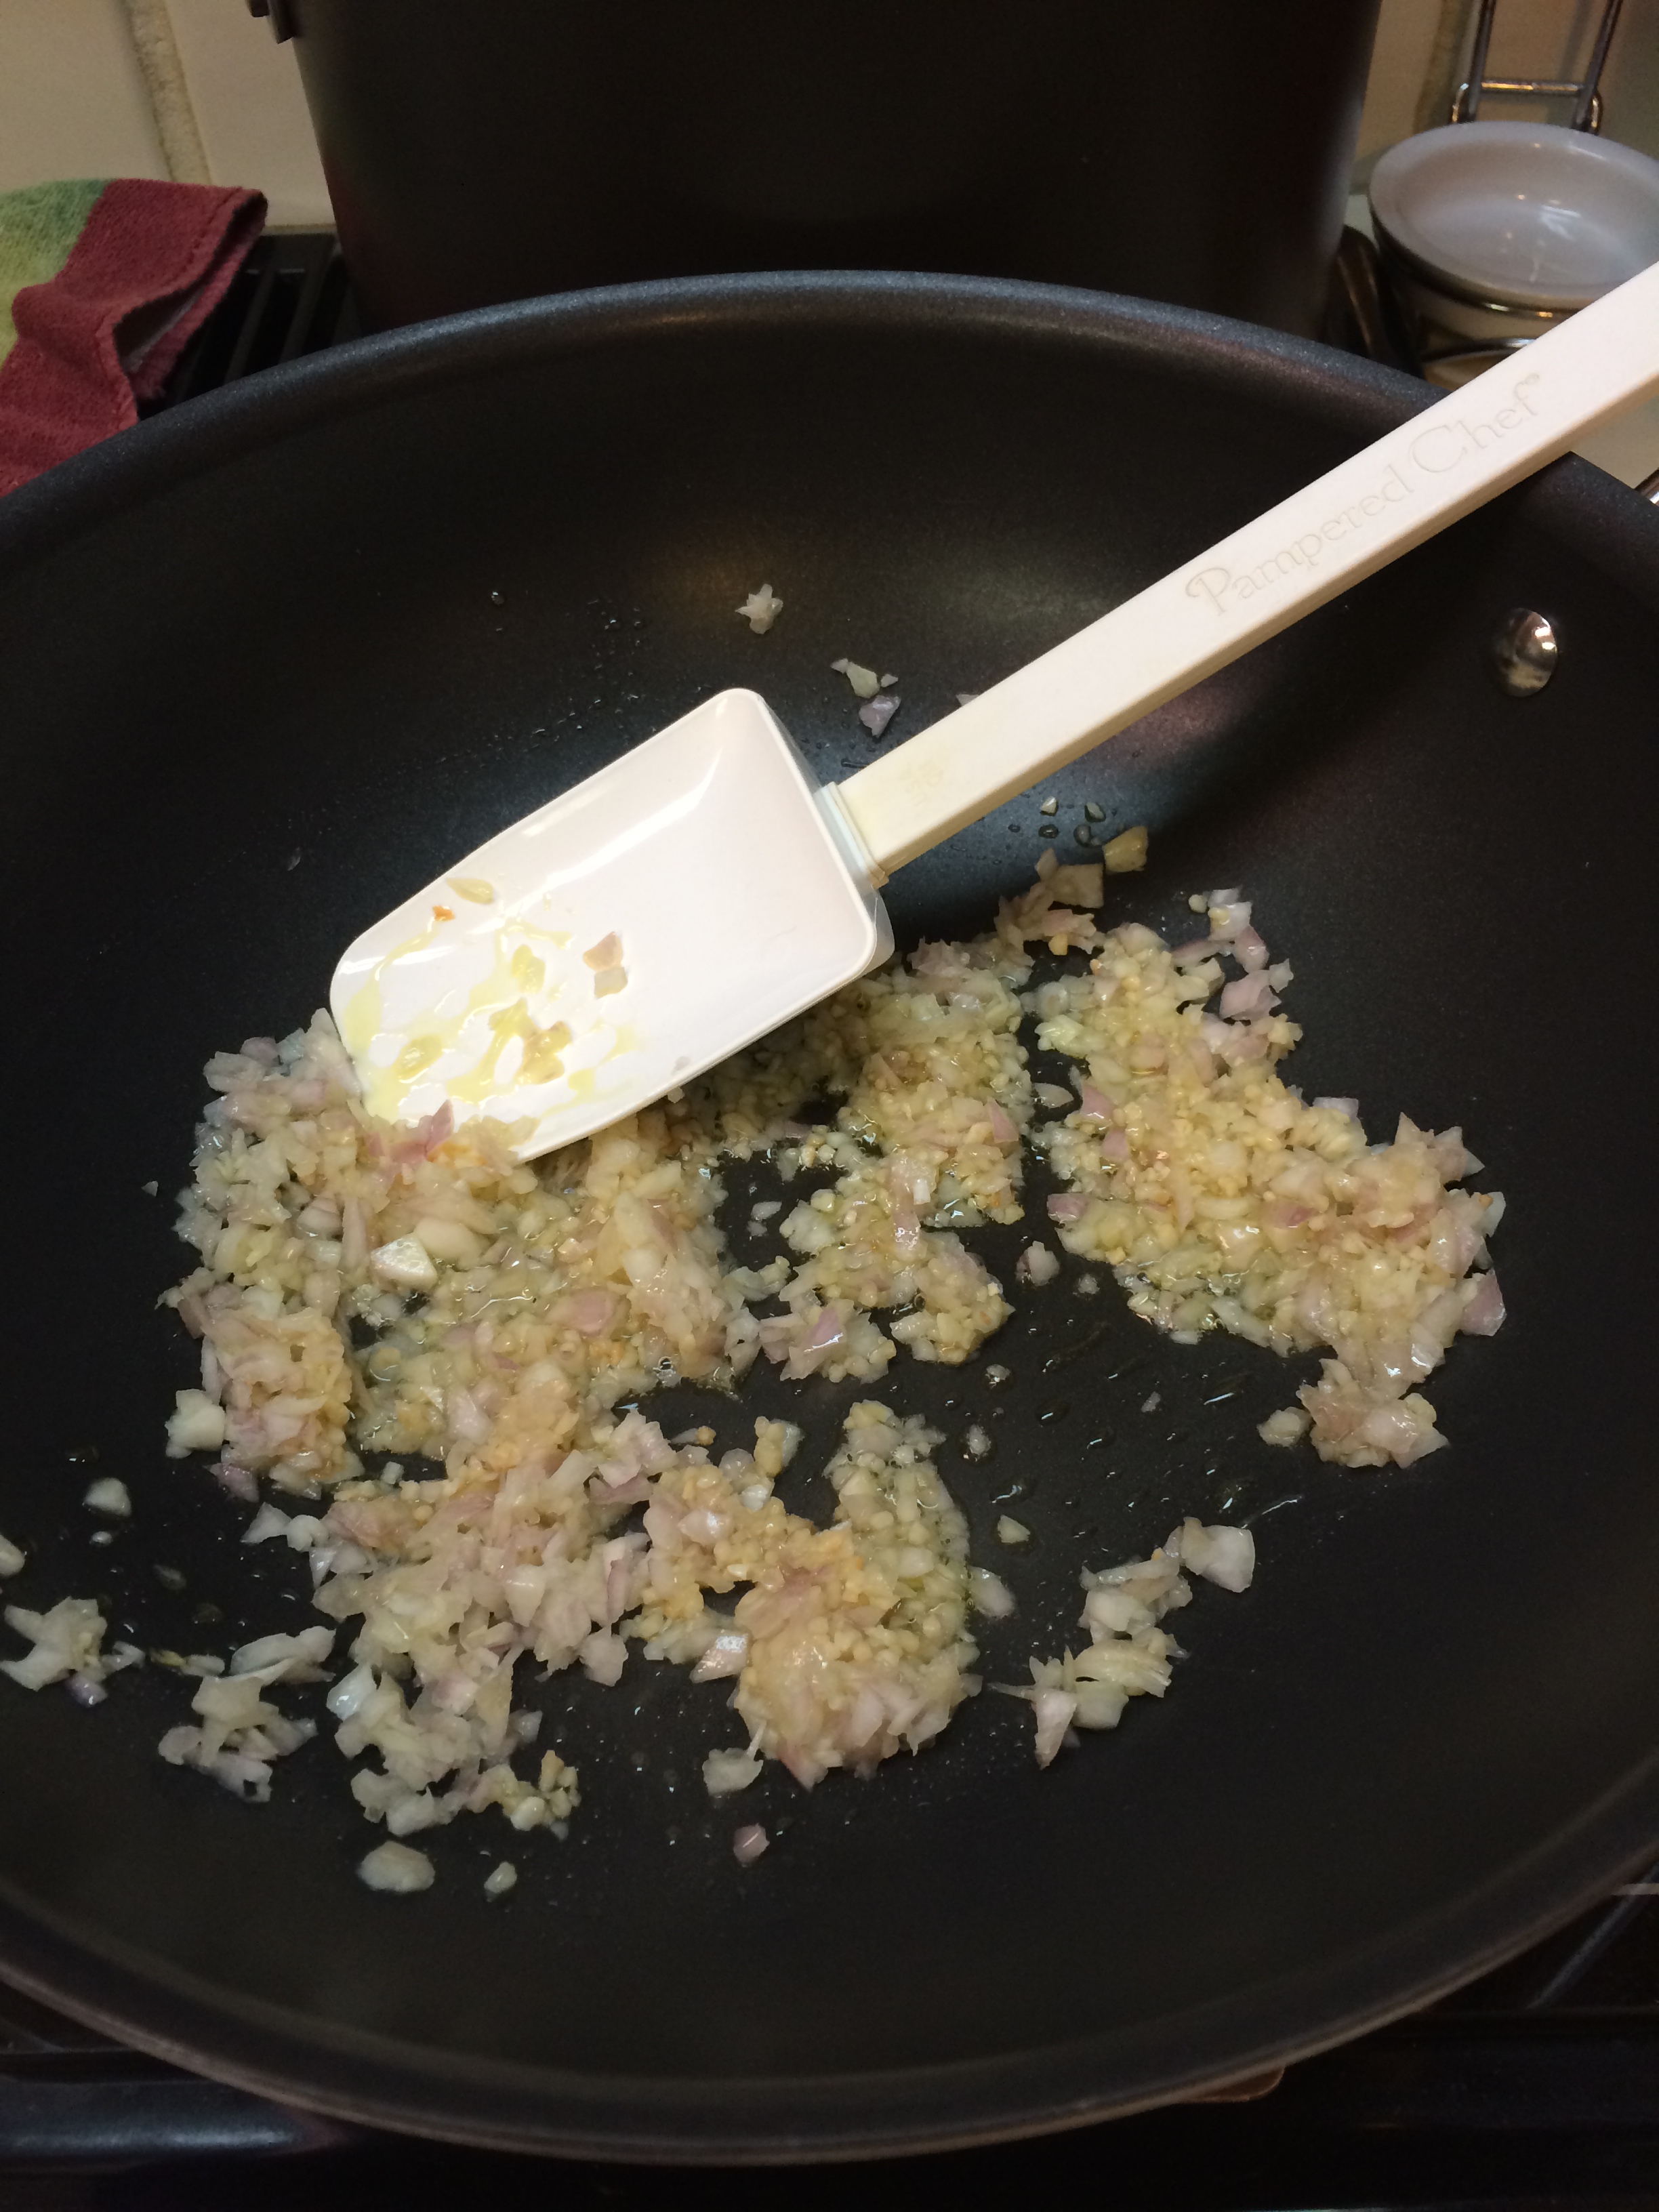
5. Put your 2 Tbs of oilive oil in a large skillet (I love using my wok for this recipe) and turn to medium high (on the higher end of medium or lower end of high, however you want to think about it). Let it heat up for a couple minutes and then throw your garlic and onions in to sauté (cook in oil over a high heat). Let them cook for about 2 minutes, stirring and “tossing” (that’s what I call messing with food in a skillet or wok) only a couple times.
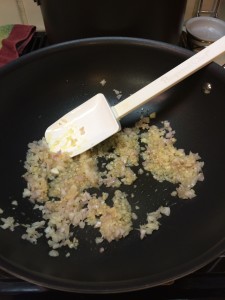
shallots and garlic hanging out together happily
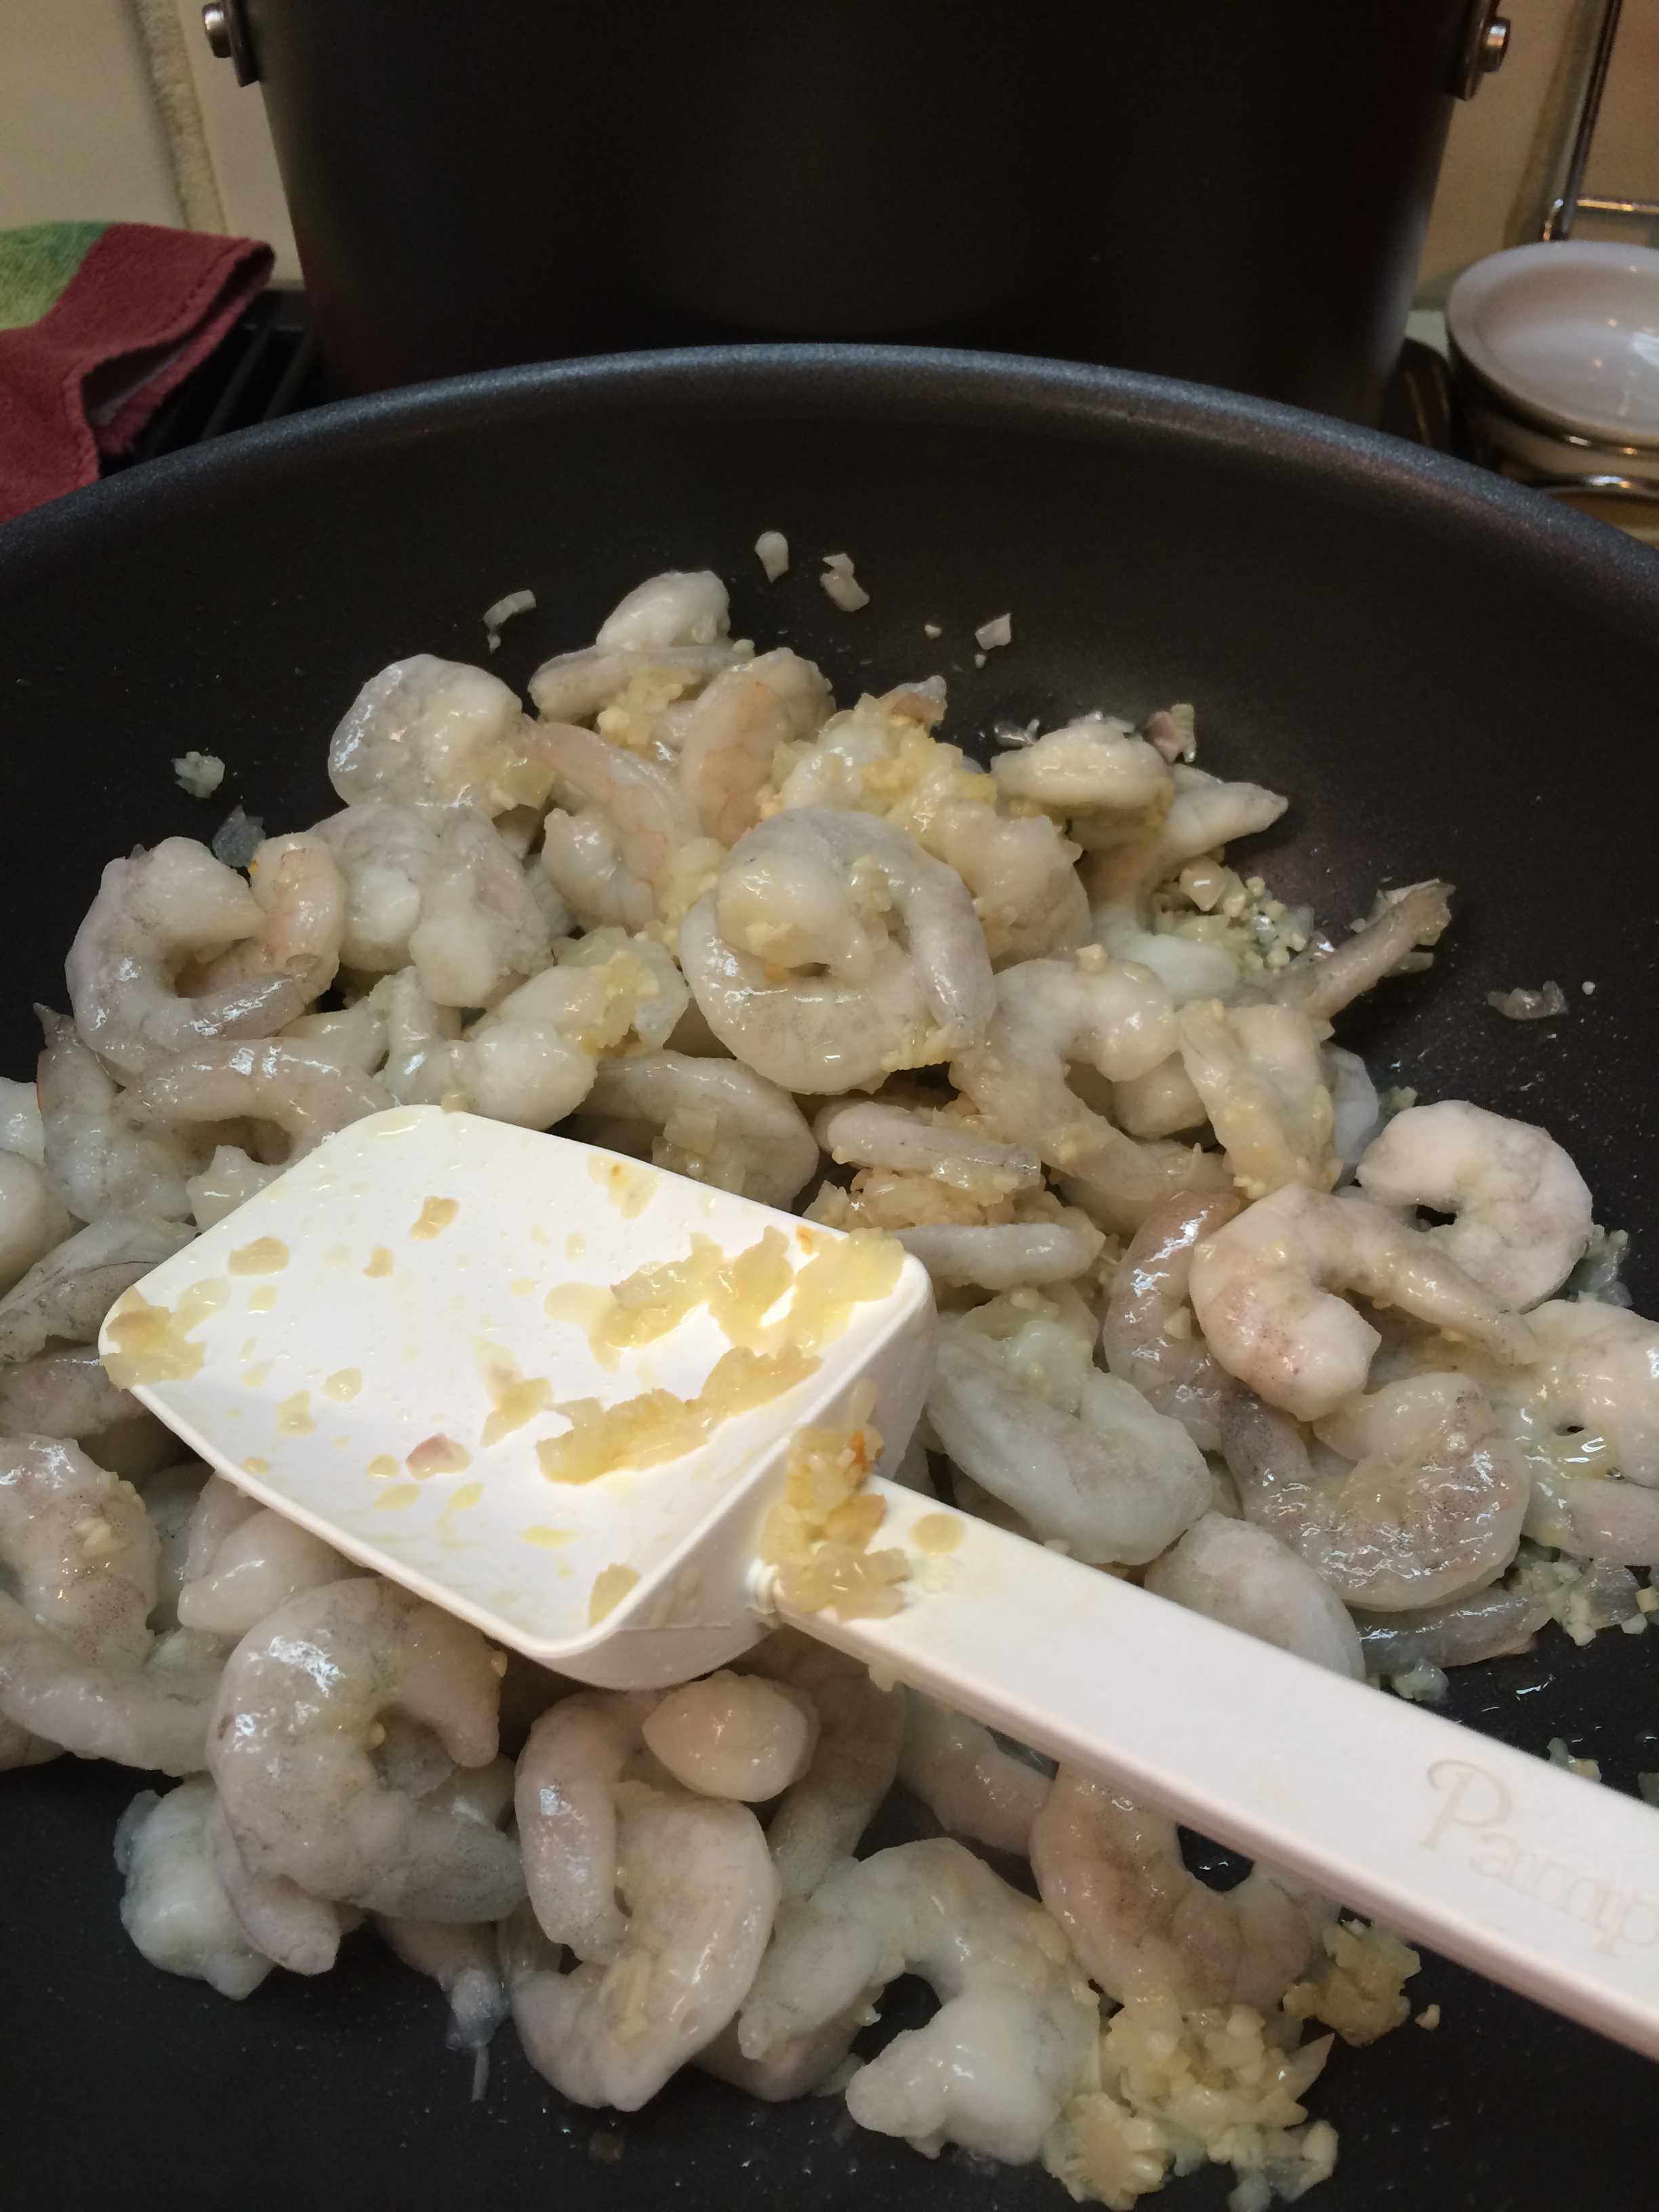
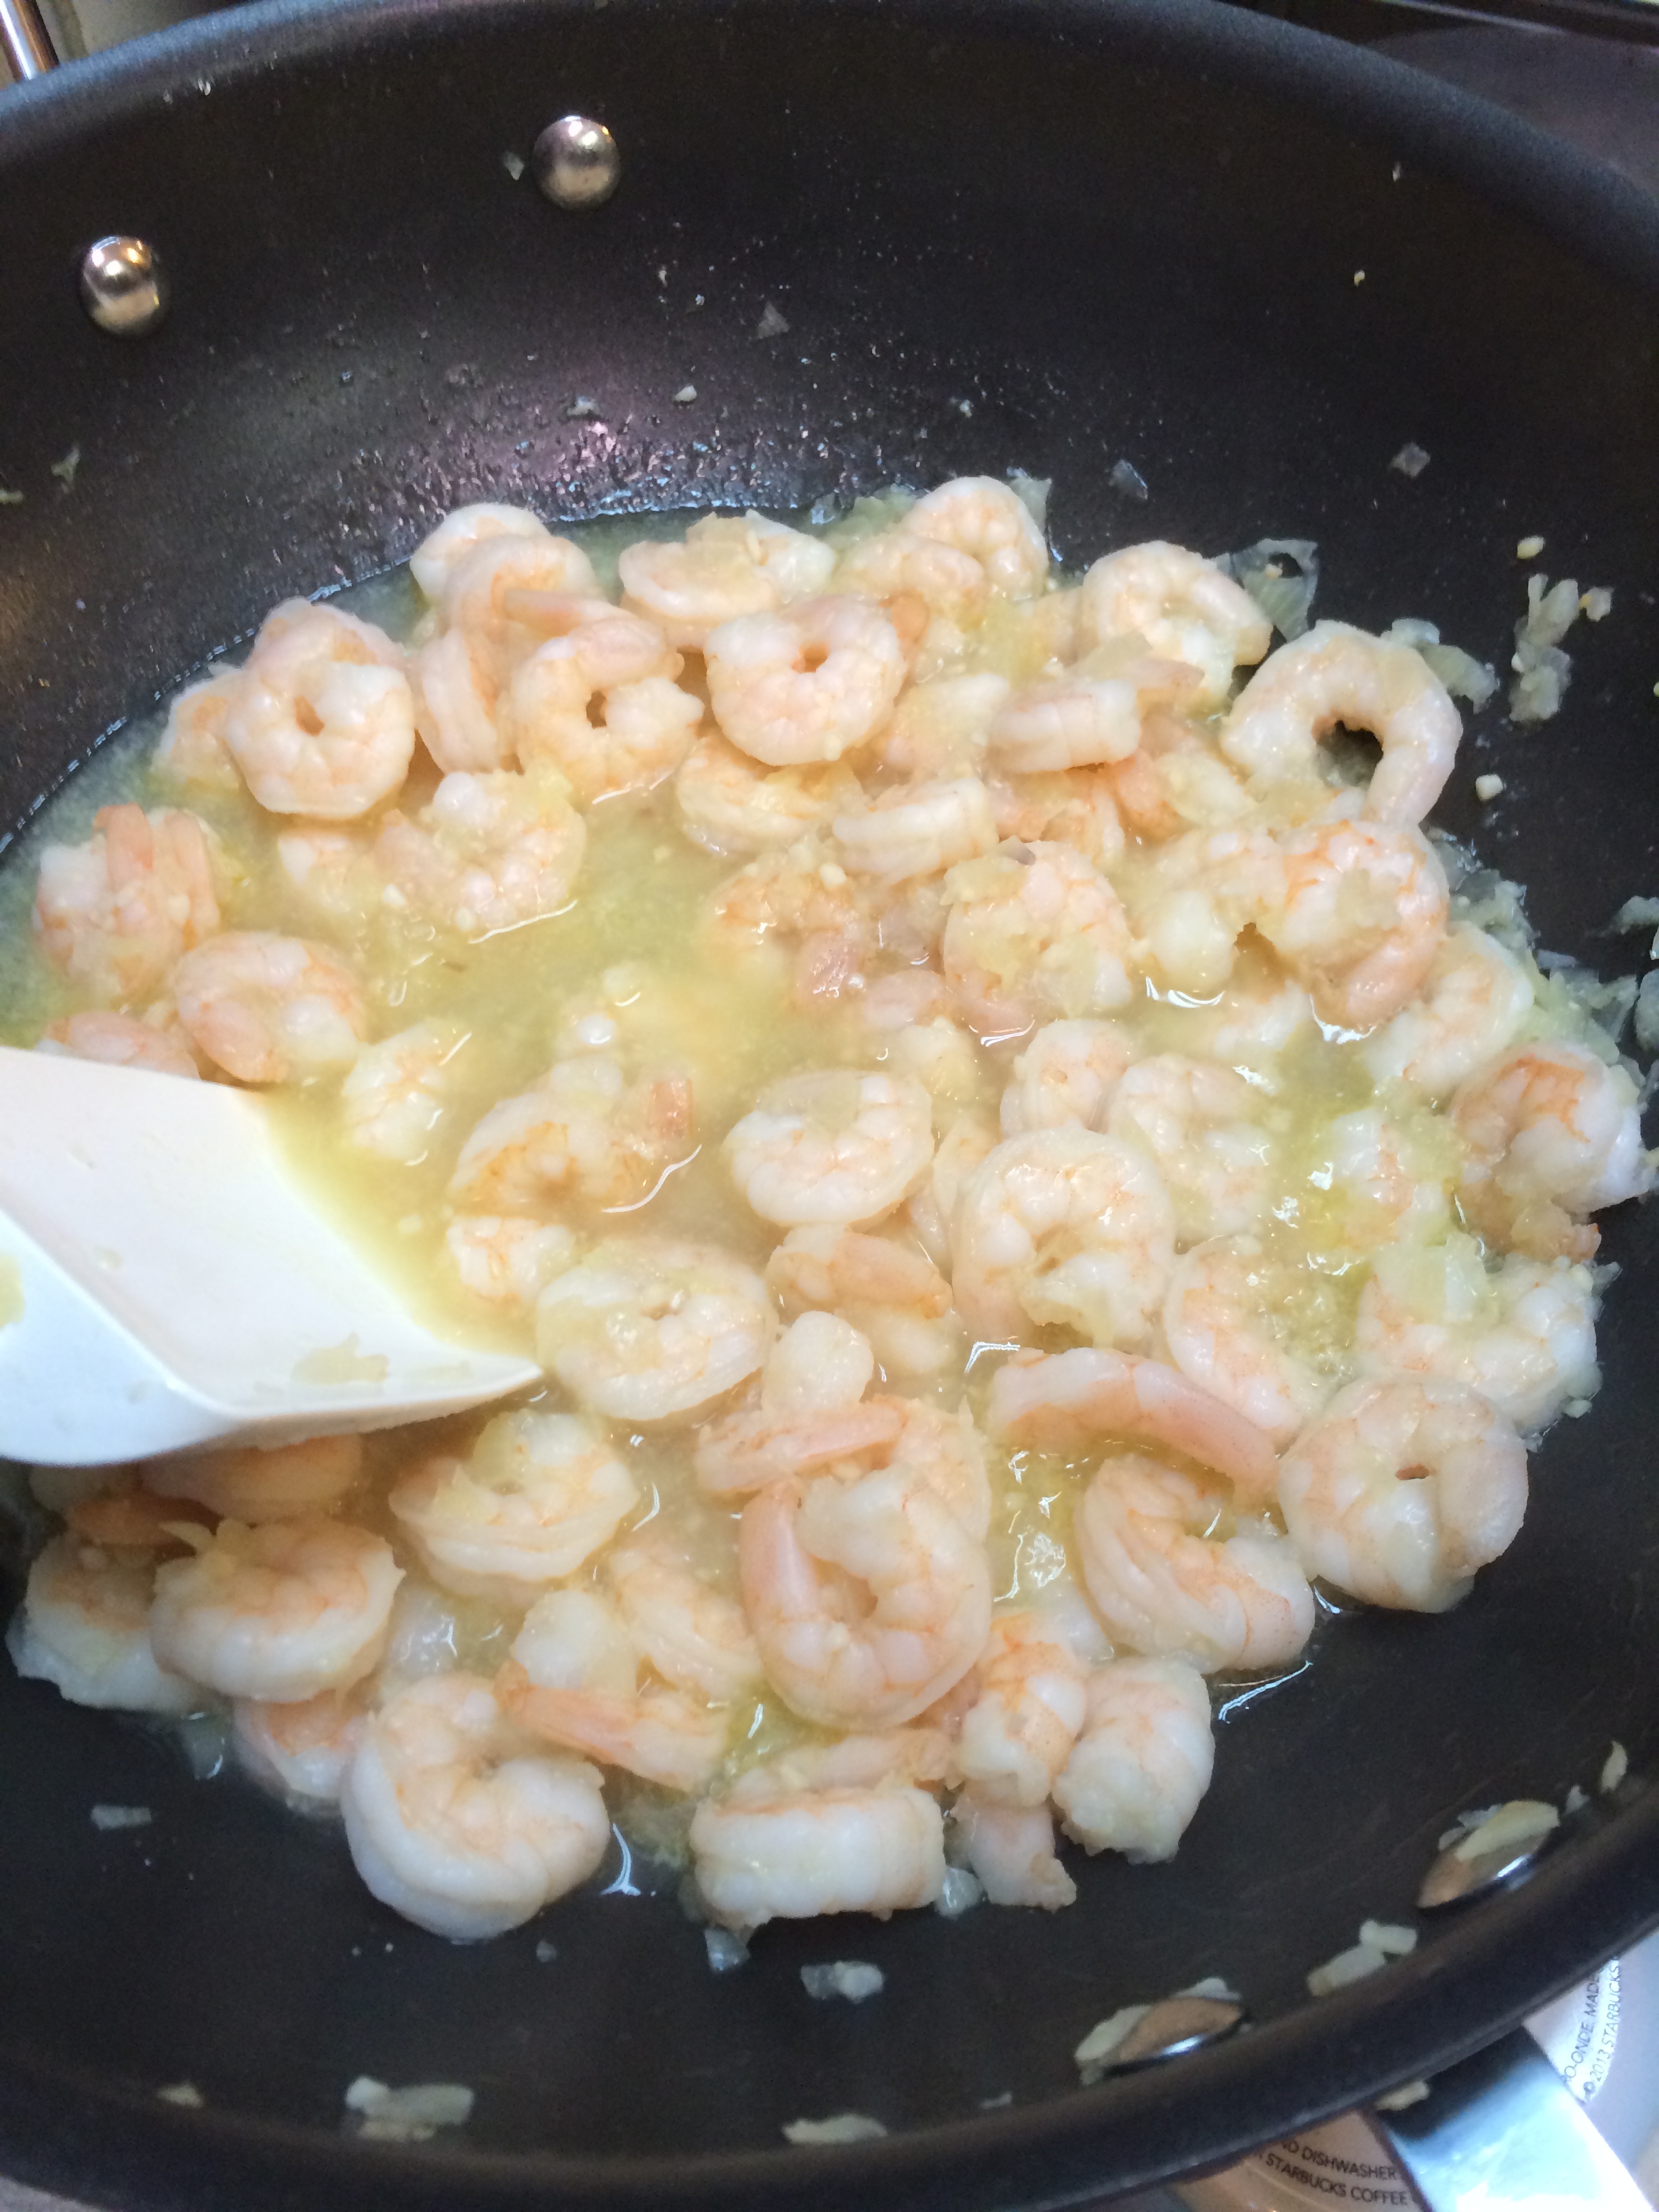
6. Add your shrimp to the skillet with garlic and shallots. Here I admit we double the shrimp but only because my oldest son LOVES shrimp and tends to eat more shrimp than linguine. Toss (stir) them about a bit to get them mixed with the shallots and garlic.

We put two bags of these in but most would probably like just one… wow, just realized we eat at least 120 shrimp.
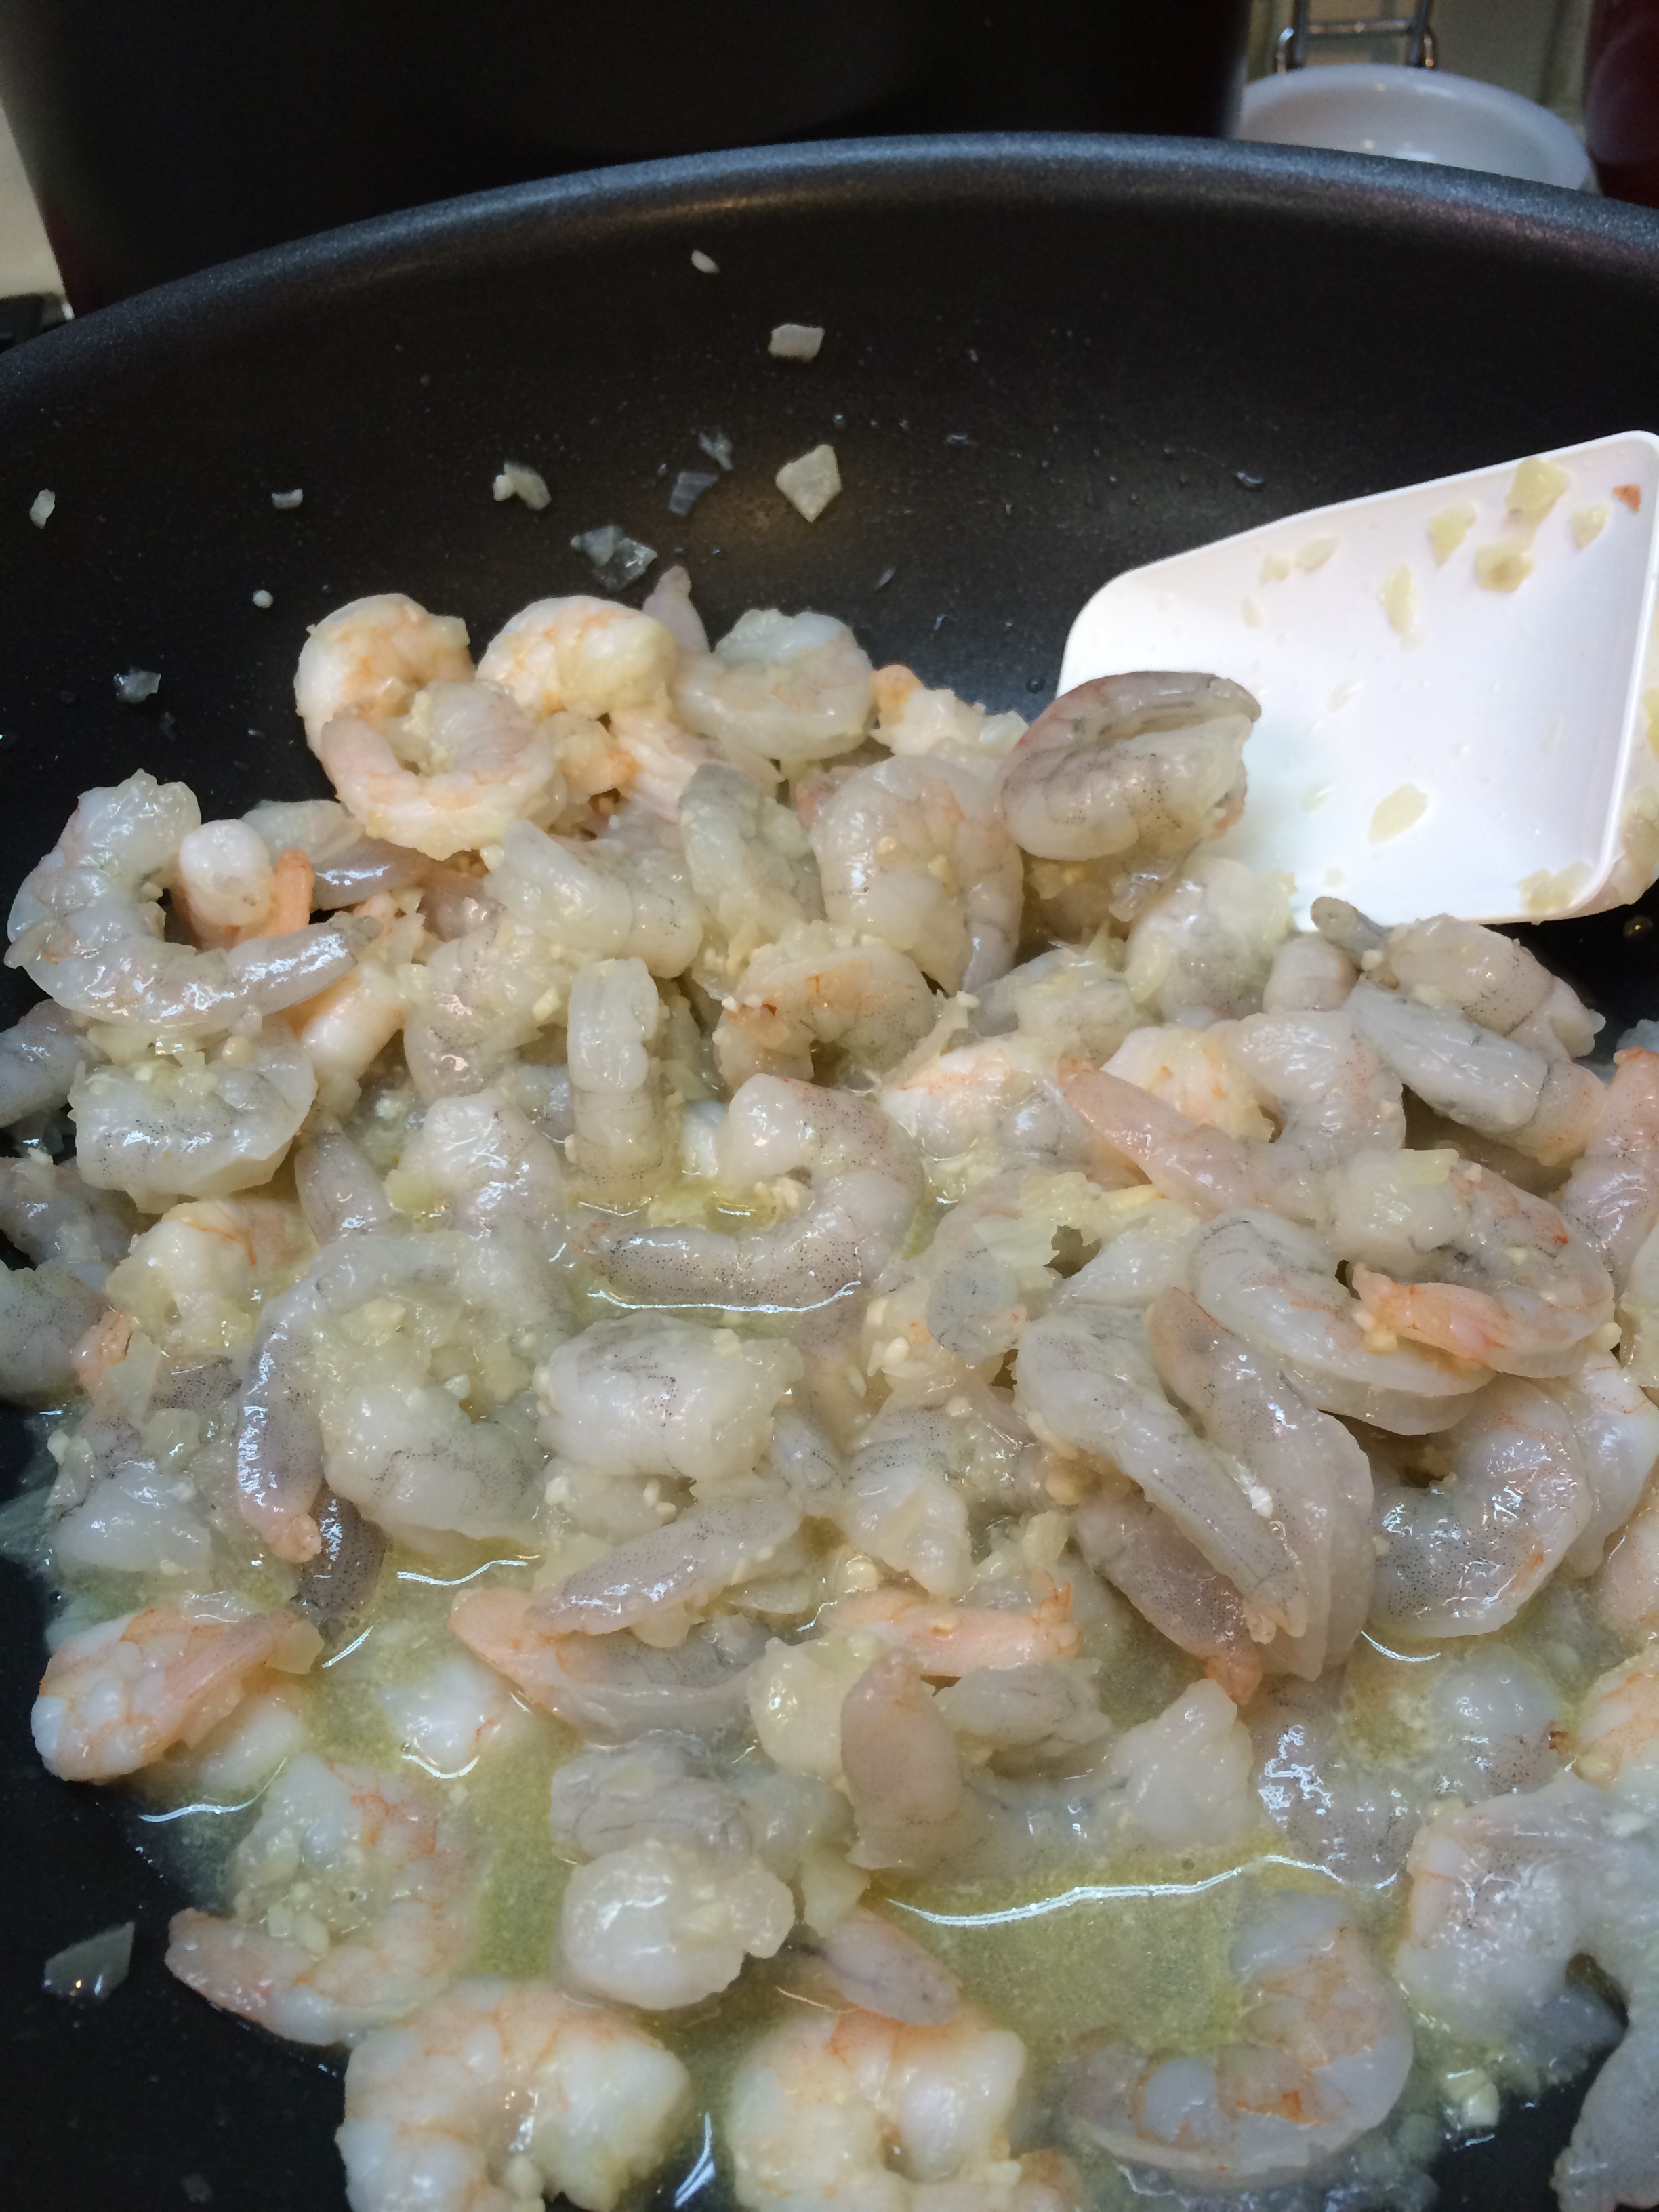
You will notice as the shrimp cook they turn from white to pink. They are considered done when they are fully pink 🙂

just put in, white, raw shrimp

Starting to turn pink
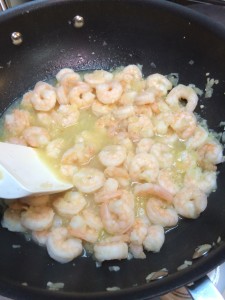
We have cooked shrimp!
When your shrimp is done cooking just pull it off the heat and set aside.
7. At some point up until now your water should be boiling or close to it. When boiling, heavily salt your water (1 to 2 Tbs depending on how much linguine you are cooking), break your linguine in half and put it in the boiling water. I love using sea salt and buy organic sea salt in bulk and then store it in quart jars.

- Sea salt, yum!
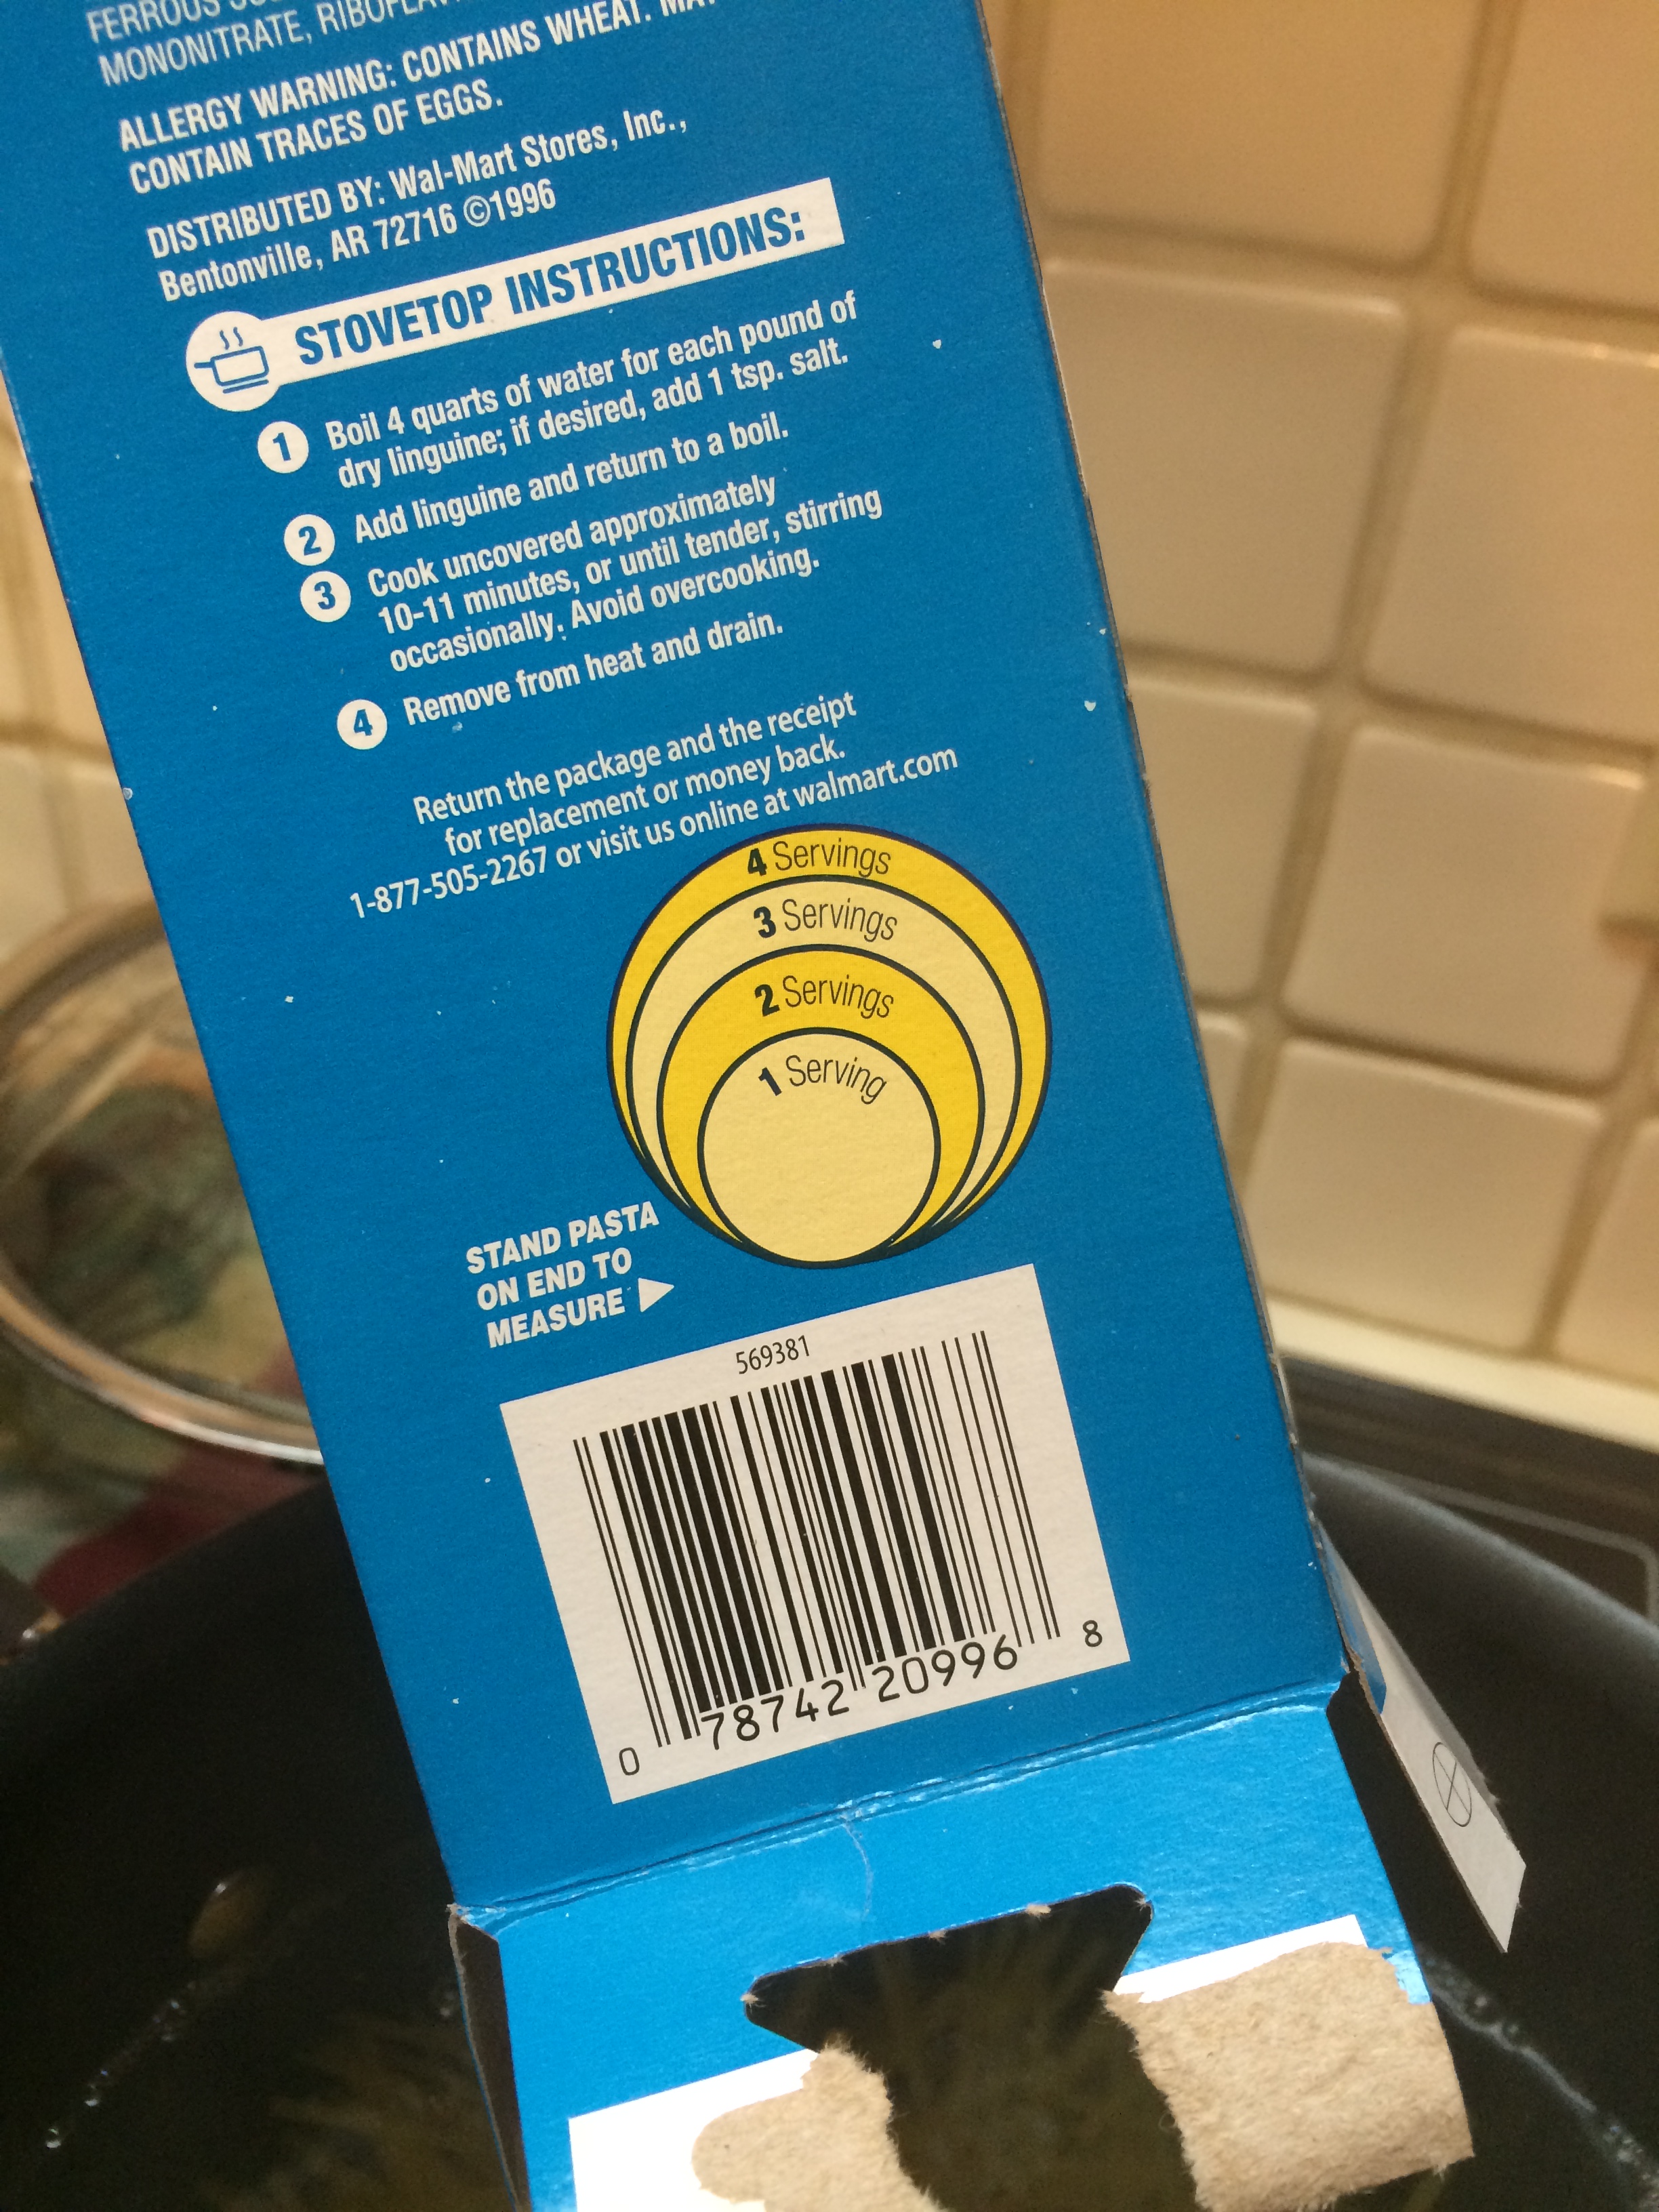
We cook the entire box of linguine (a pound? That can’t be right… do we really eat a pound of pasta as a family of 4?) Two growing boys makes the amount of pasta I cook seem more normal I guess. However, according to the serving size indication on the back of the box I am cooking 8 servings of pasta… and then adding shrimp and spinach. We like to eat good food.
Serving “suggestion”… I’ll just dump the whole box in thank you very much!
8. Cook pasta according to directions on package and tips listed above.
9. When pasta is done strain it (DO NOT RINSE) and put it back into big pot. Make sure your burner is off (will probably still be warm, that’s fine). Add shrimp mixture, lemon juice with zest, and strain your olive oil into big pot (don’t want the zest from olive oil in pot). Add salt (1 tsp or less) and pepper (1/2 tsp or less). Mix everything together.
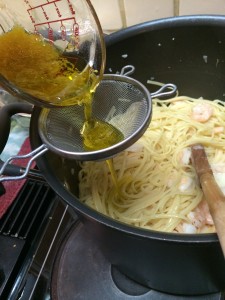
straining lemon olive oil
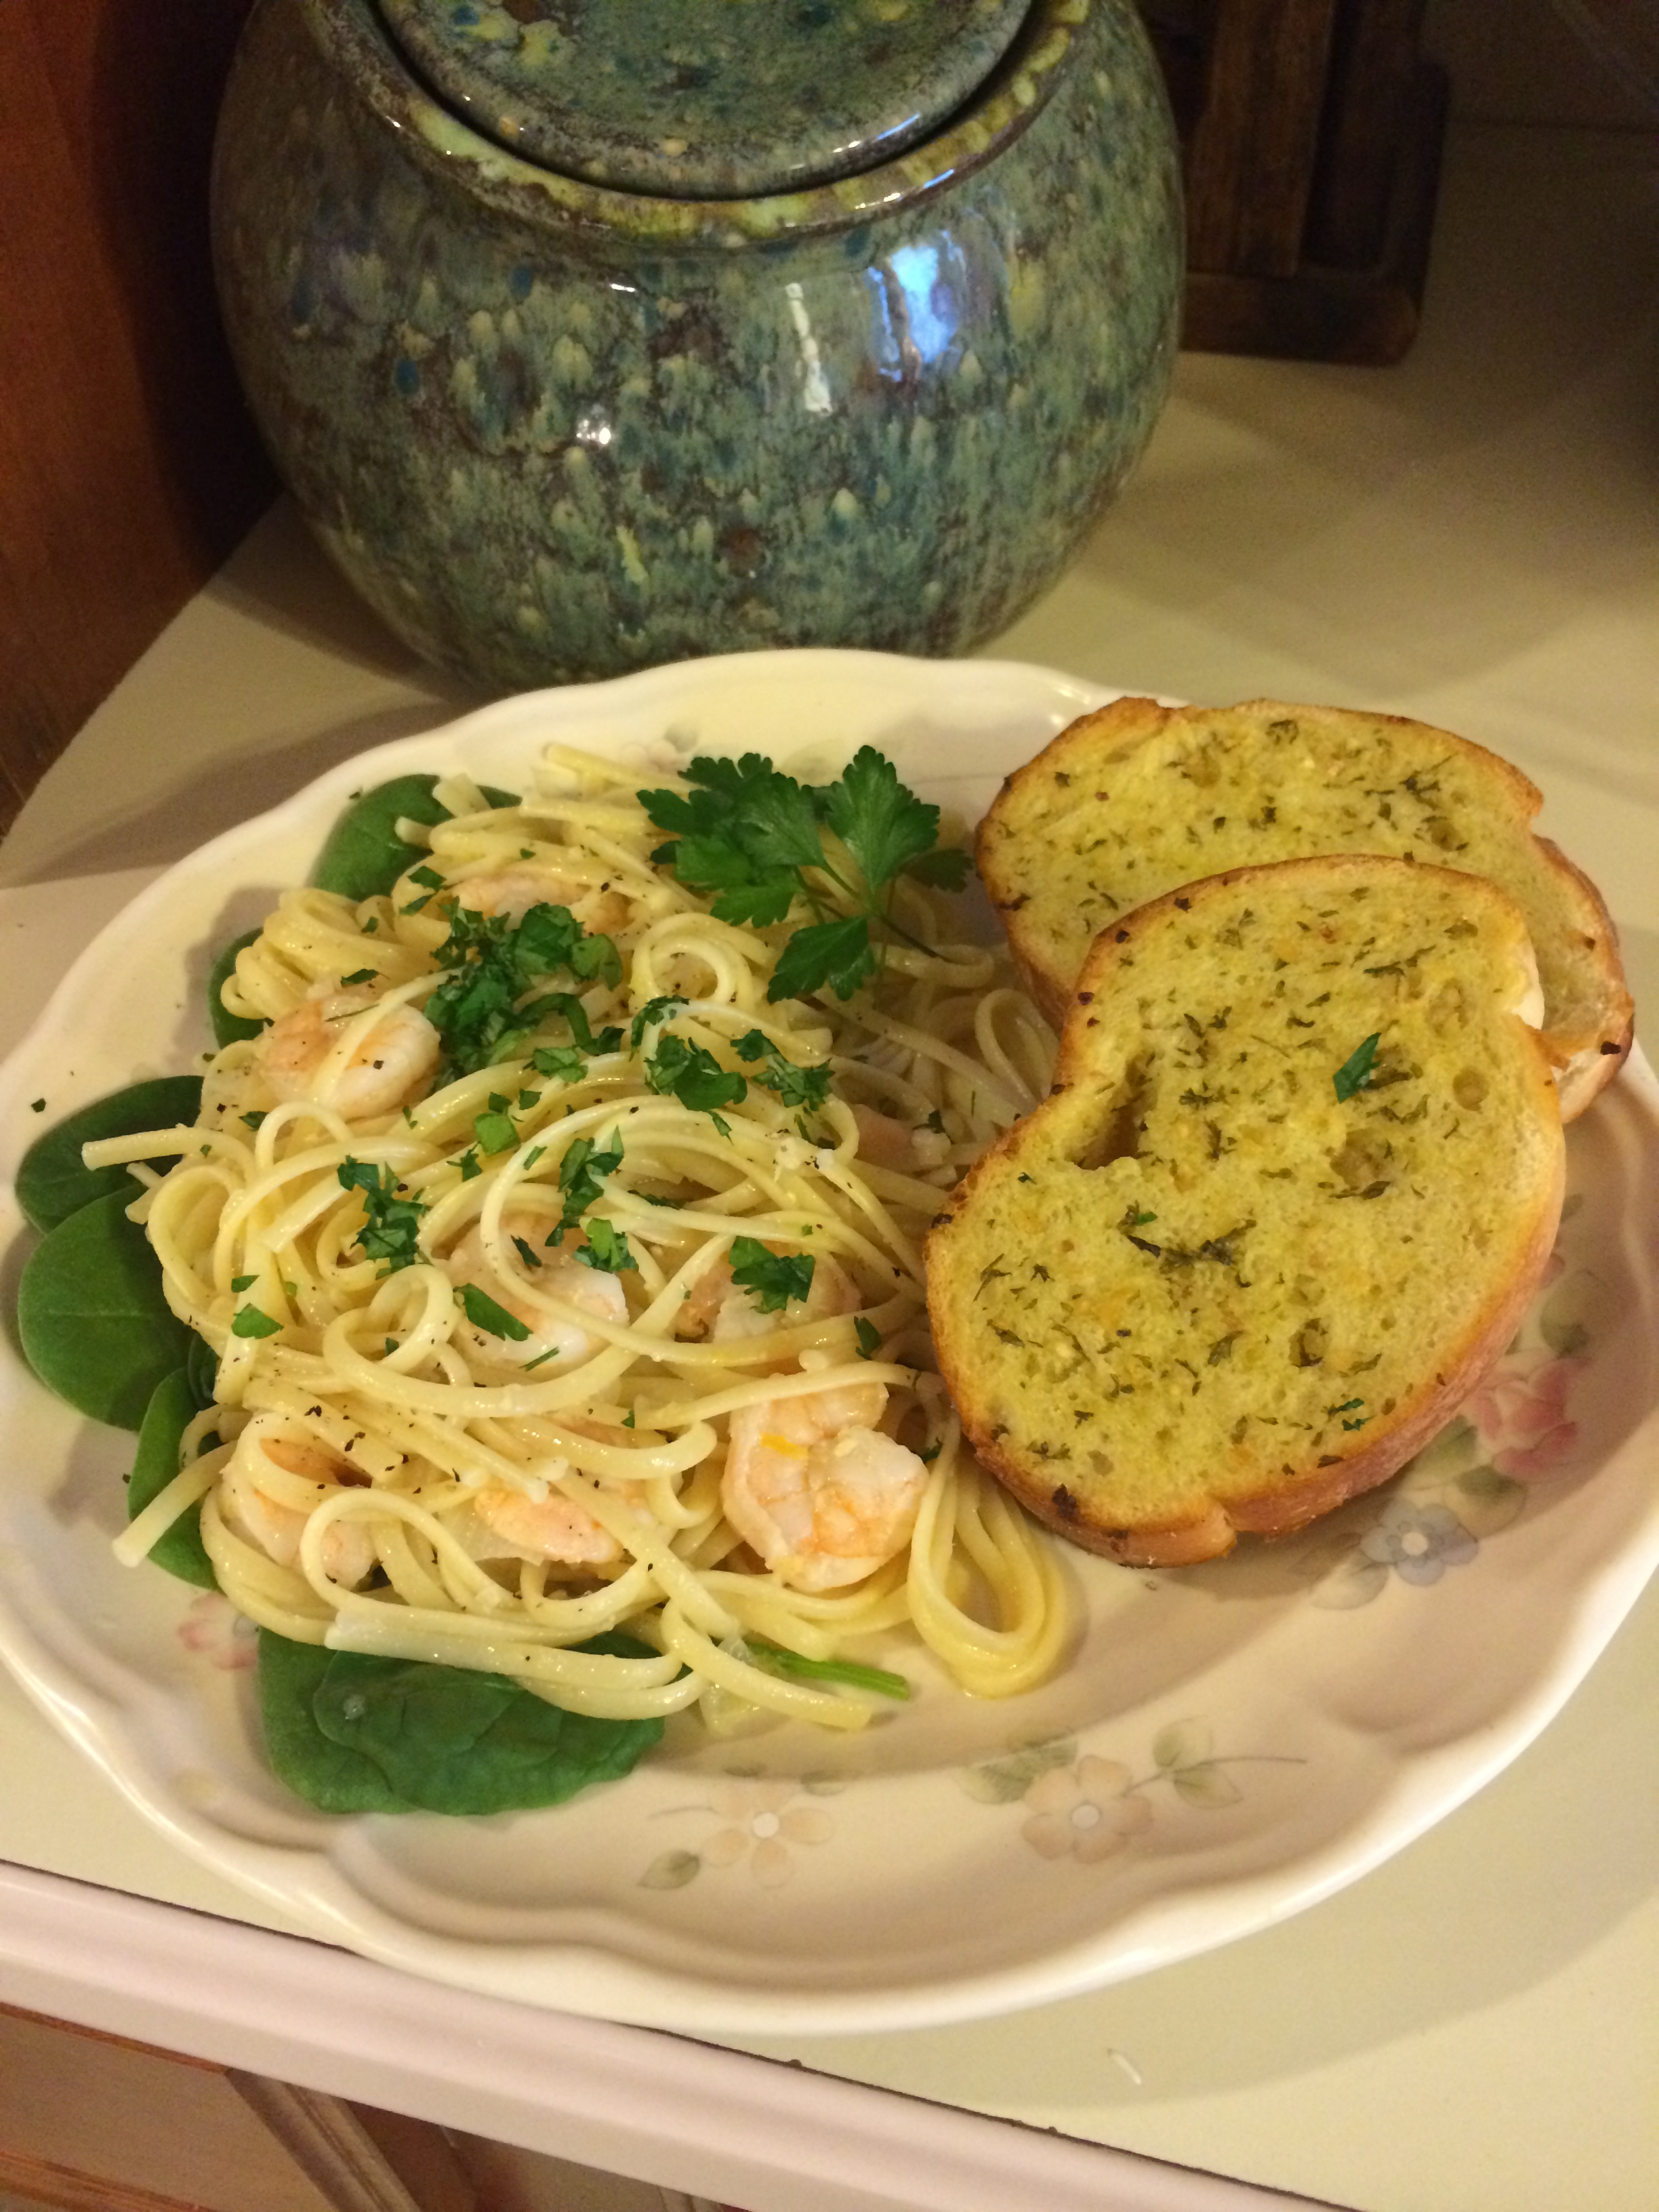
10. The final step is one based on preference. You can either dump the bag of spinach into the pot and gently stir, the spinach will wilt and get soft because of heat of pasta (yummy!) or if you like your spinach a little more crisp you can plate your spinach and add the pasta on top. Once plated (whichever method you use) add a couple piches of chopped fresh parsley.

yum yum yum
Enjoy and happy cooking and eating! This is a favorite here at The Shepherd Hobby Farm
Jhenna

 Follow


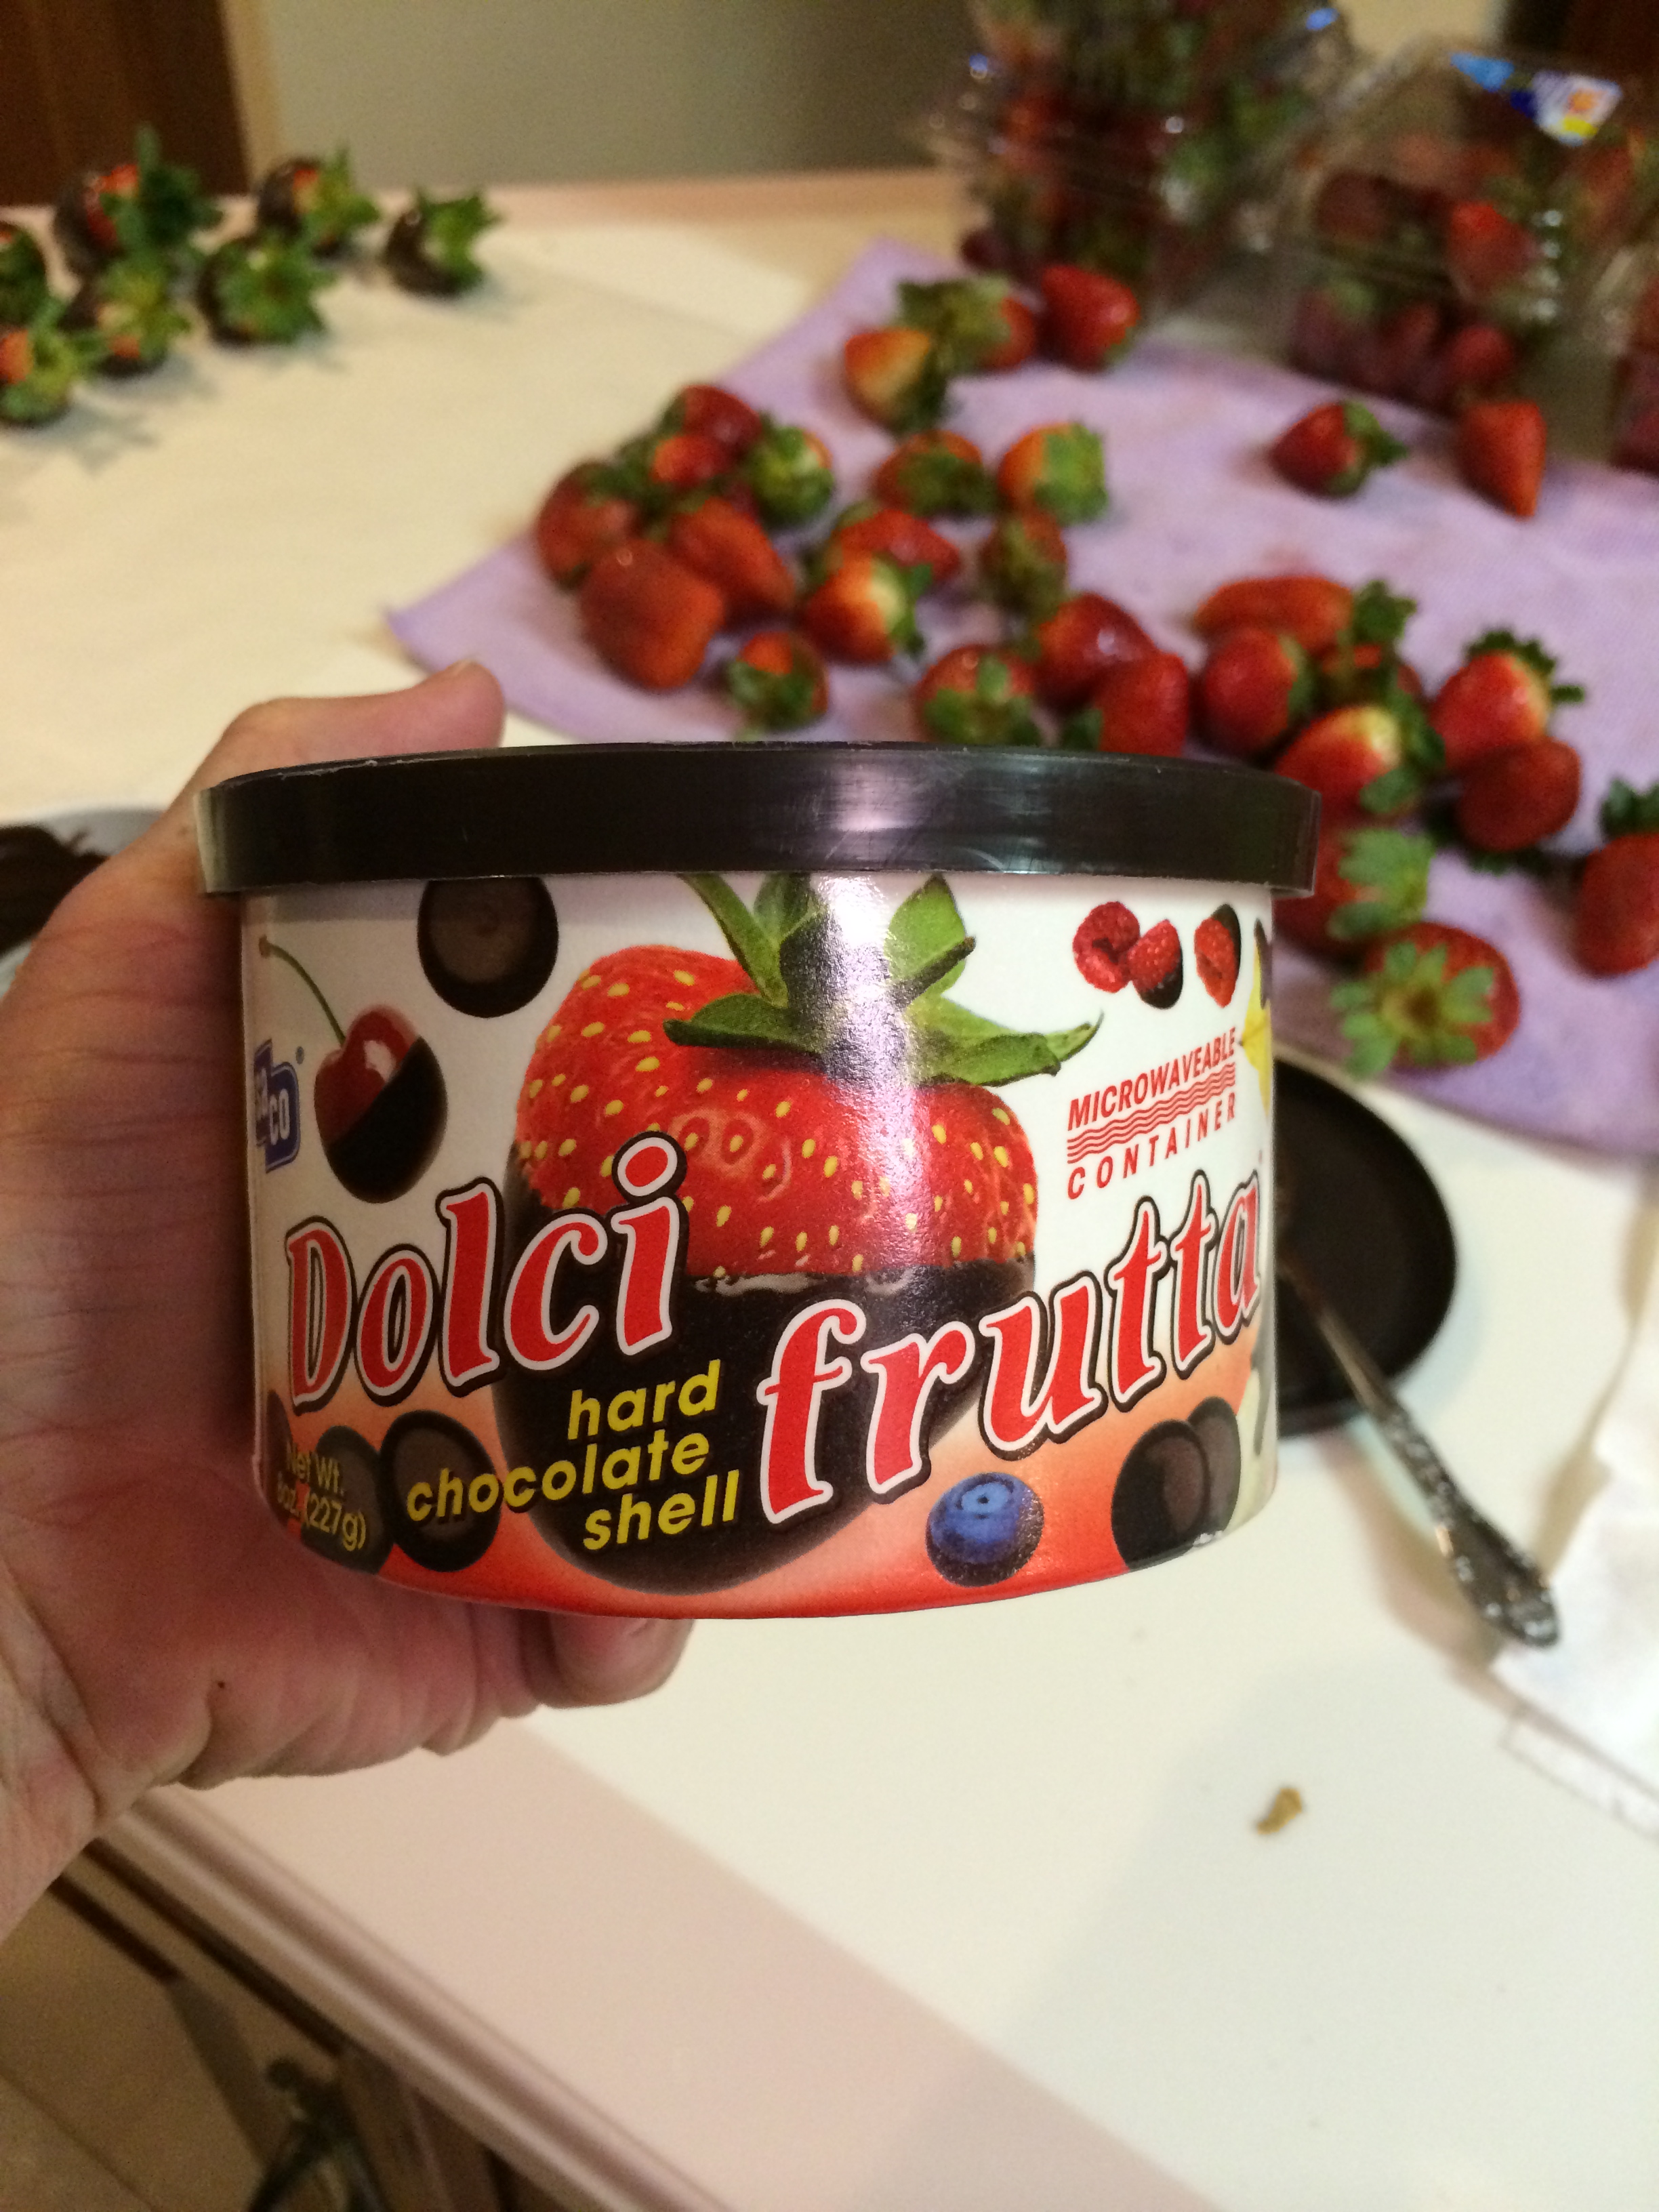

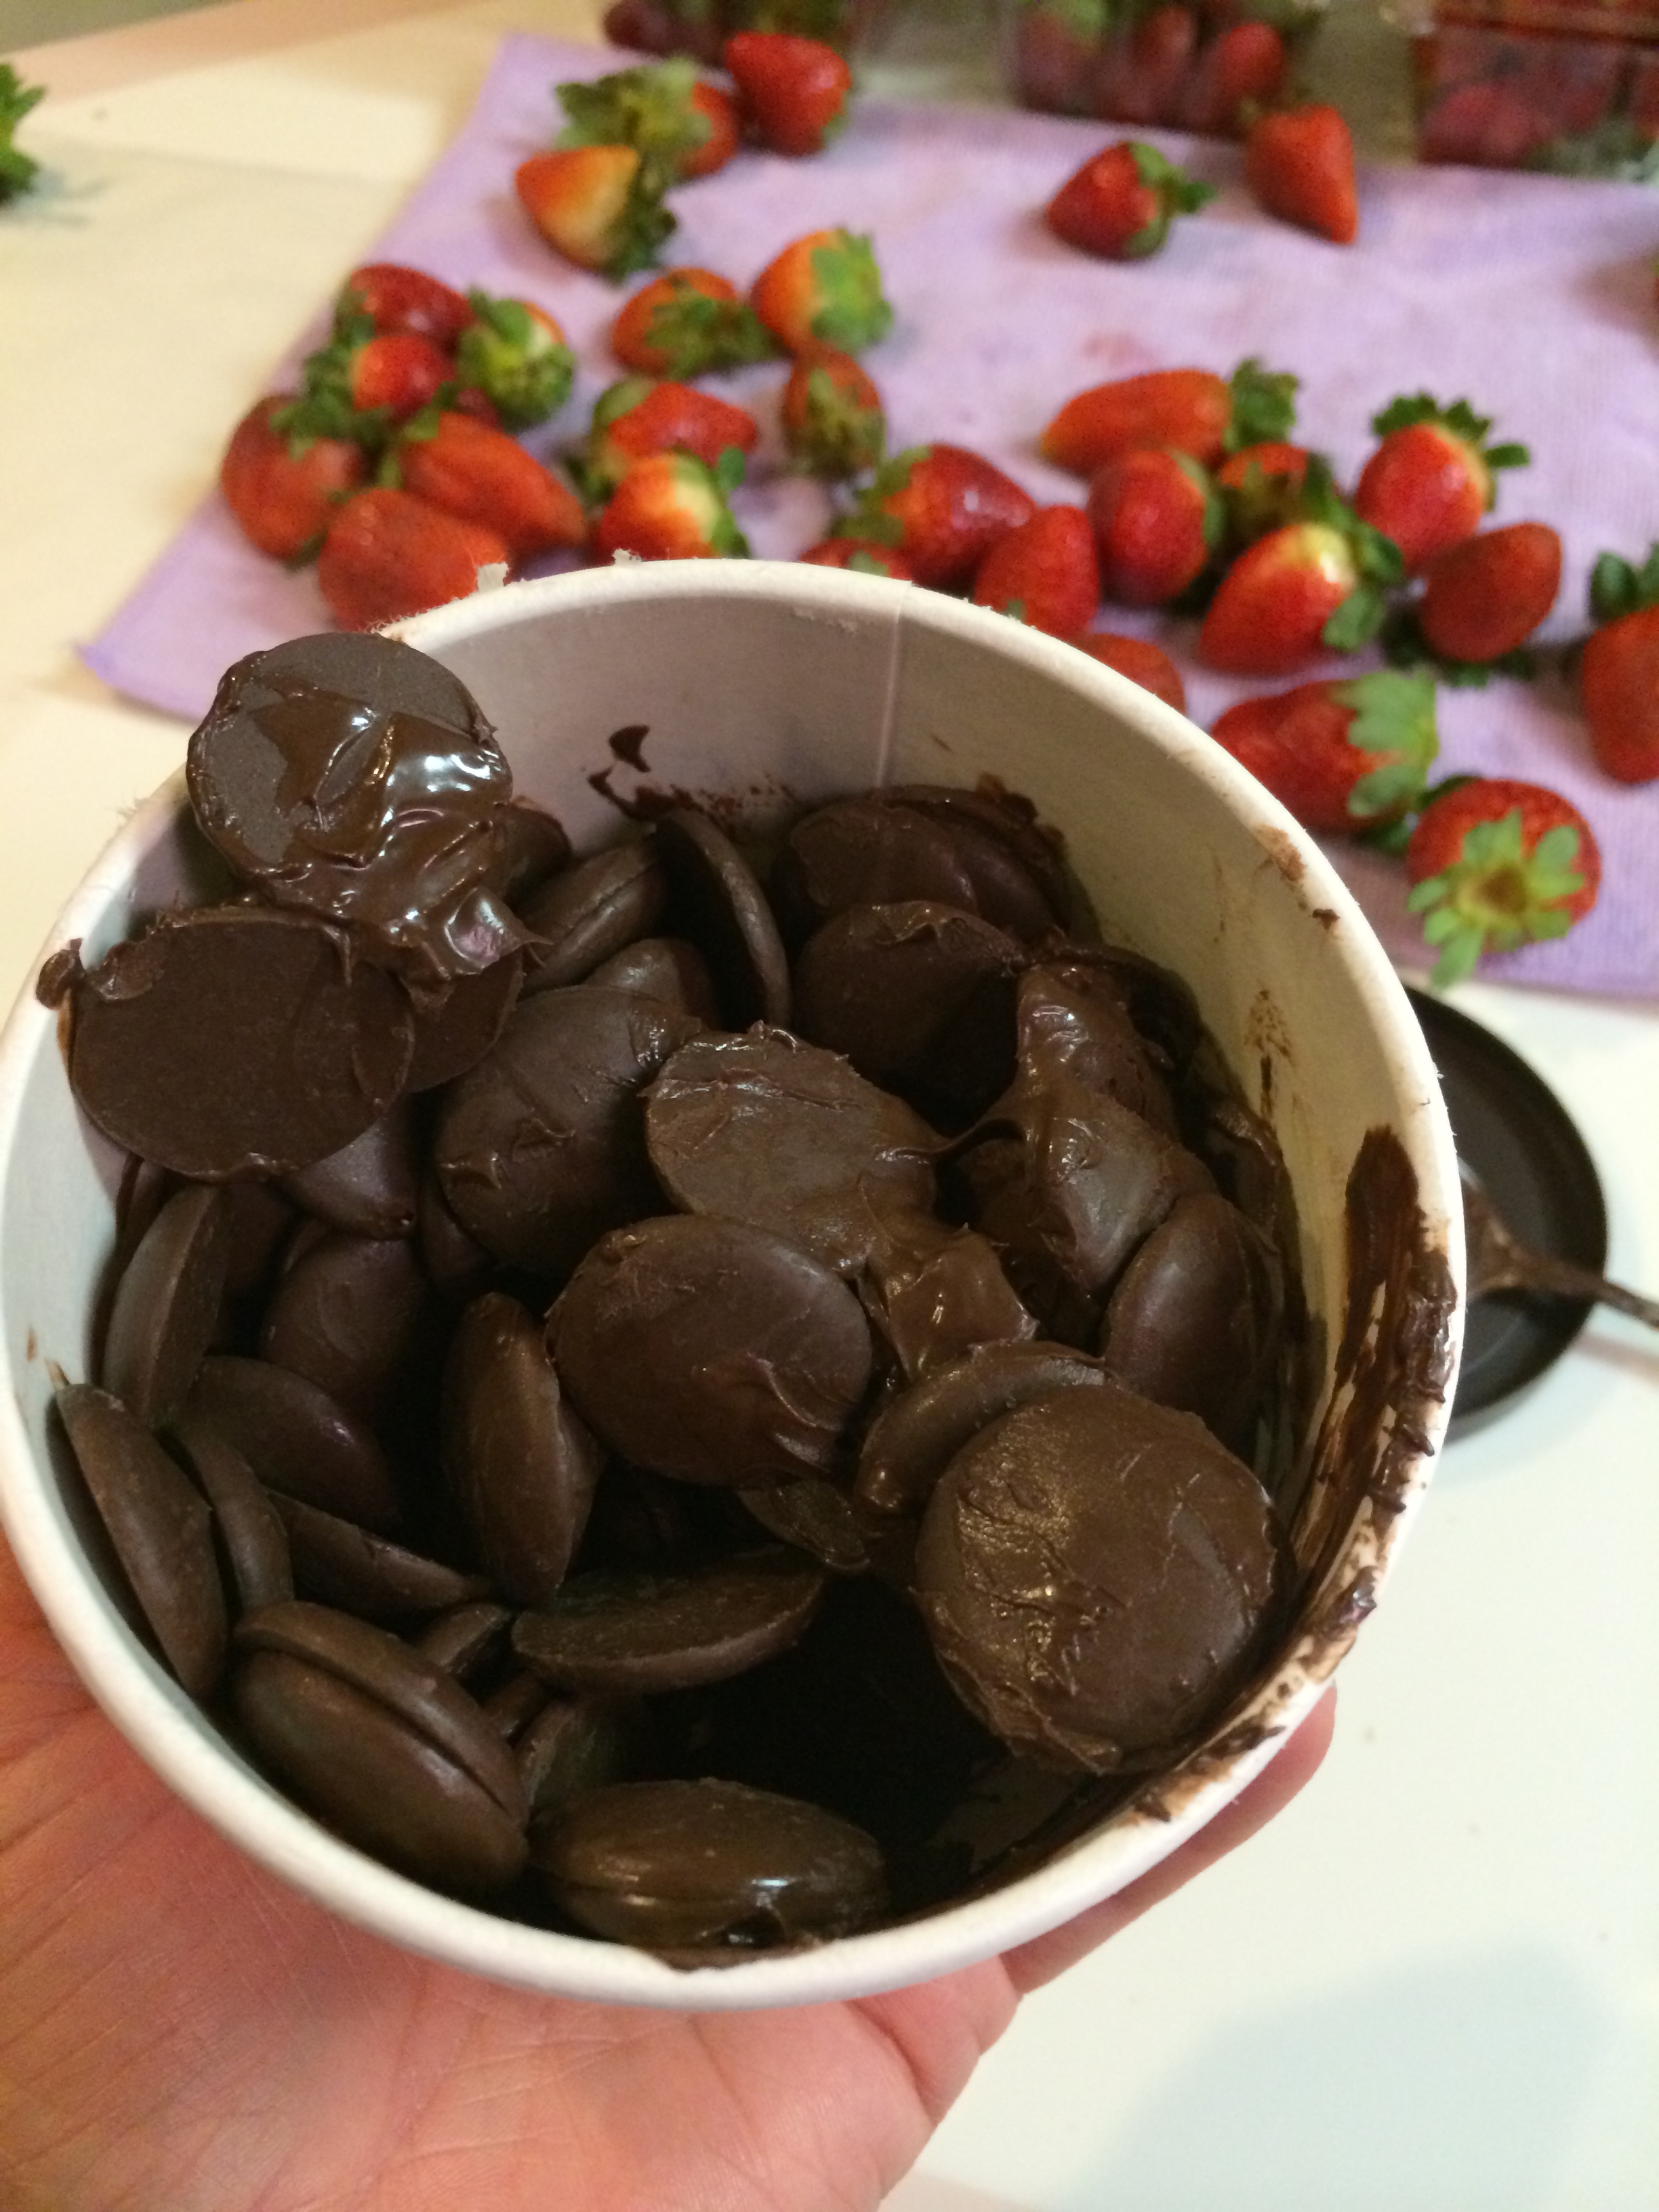
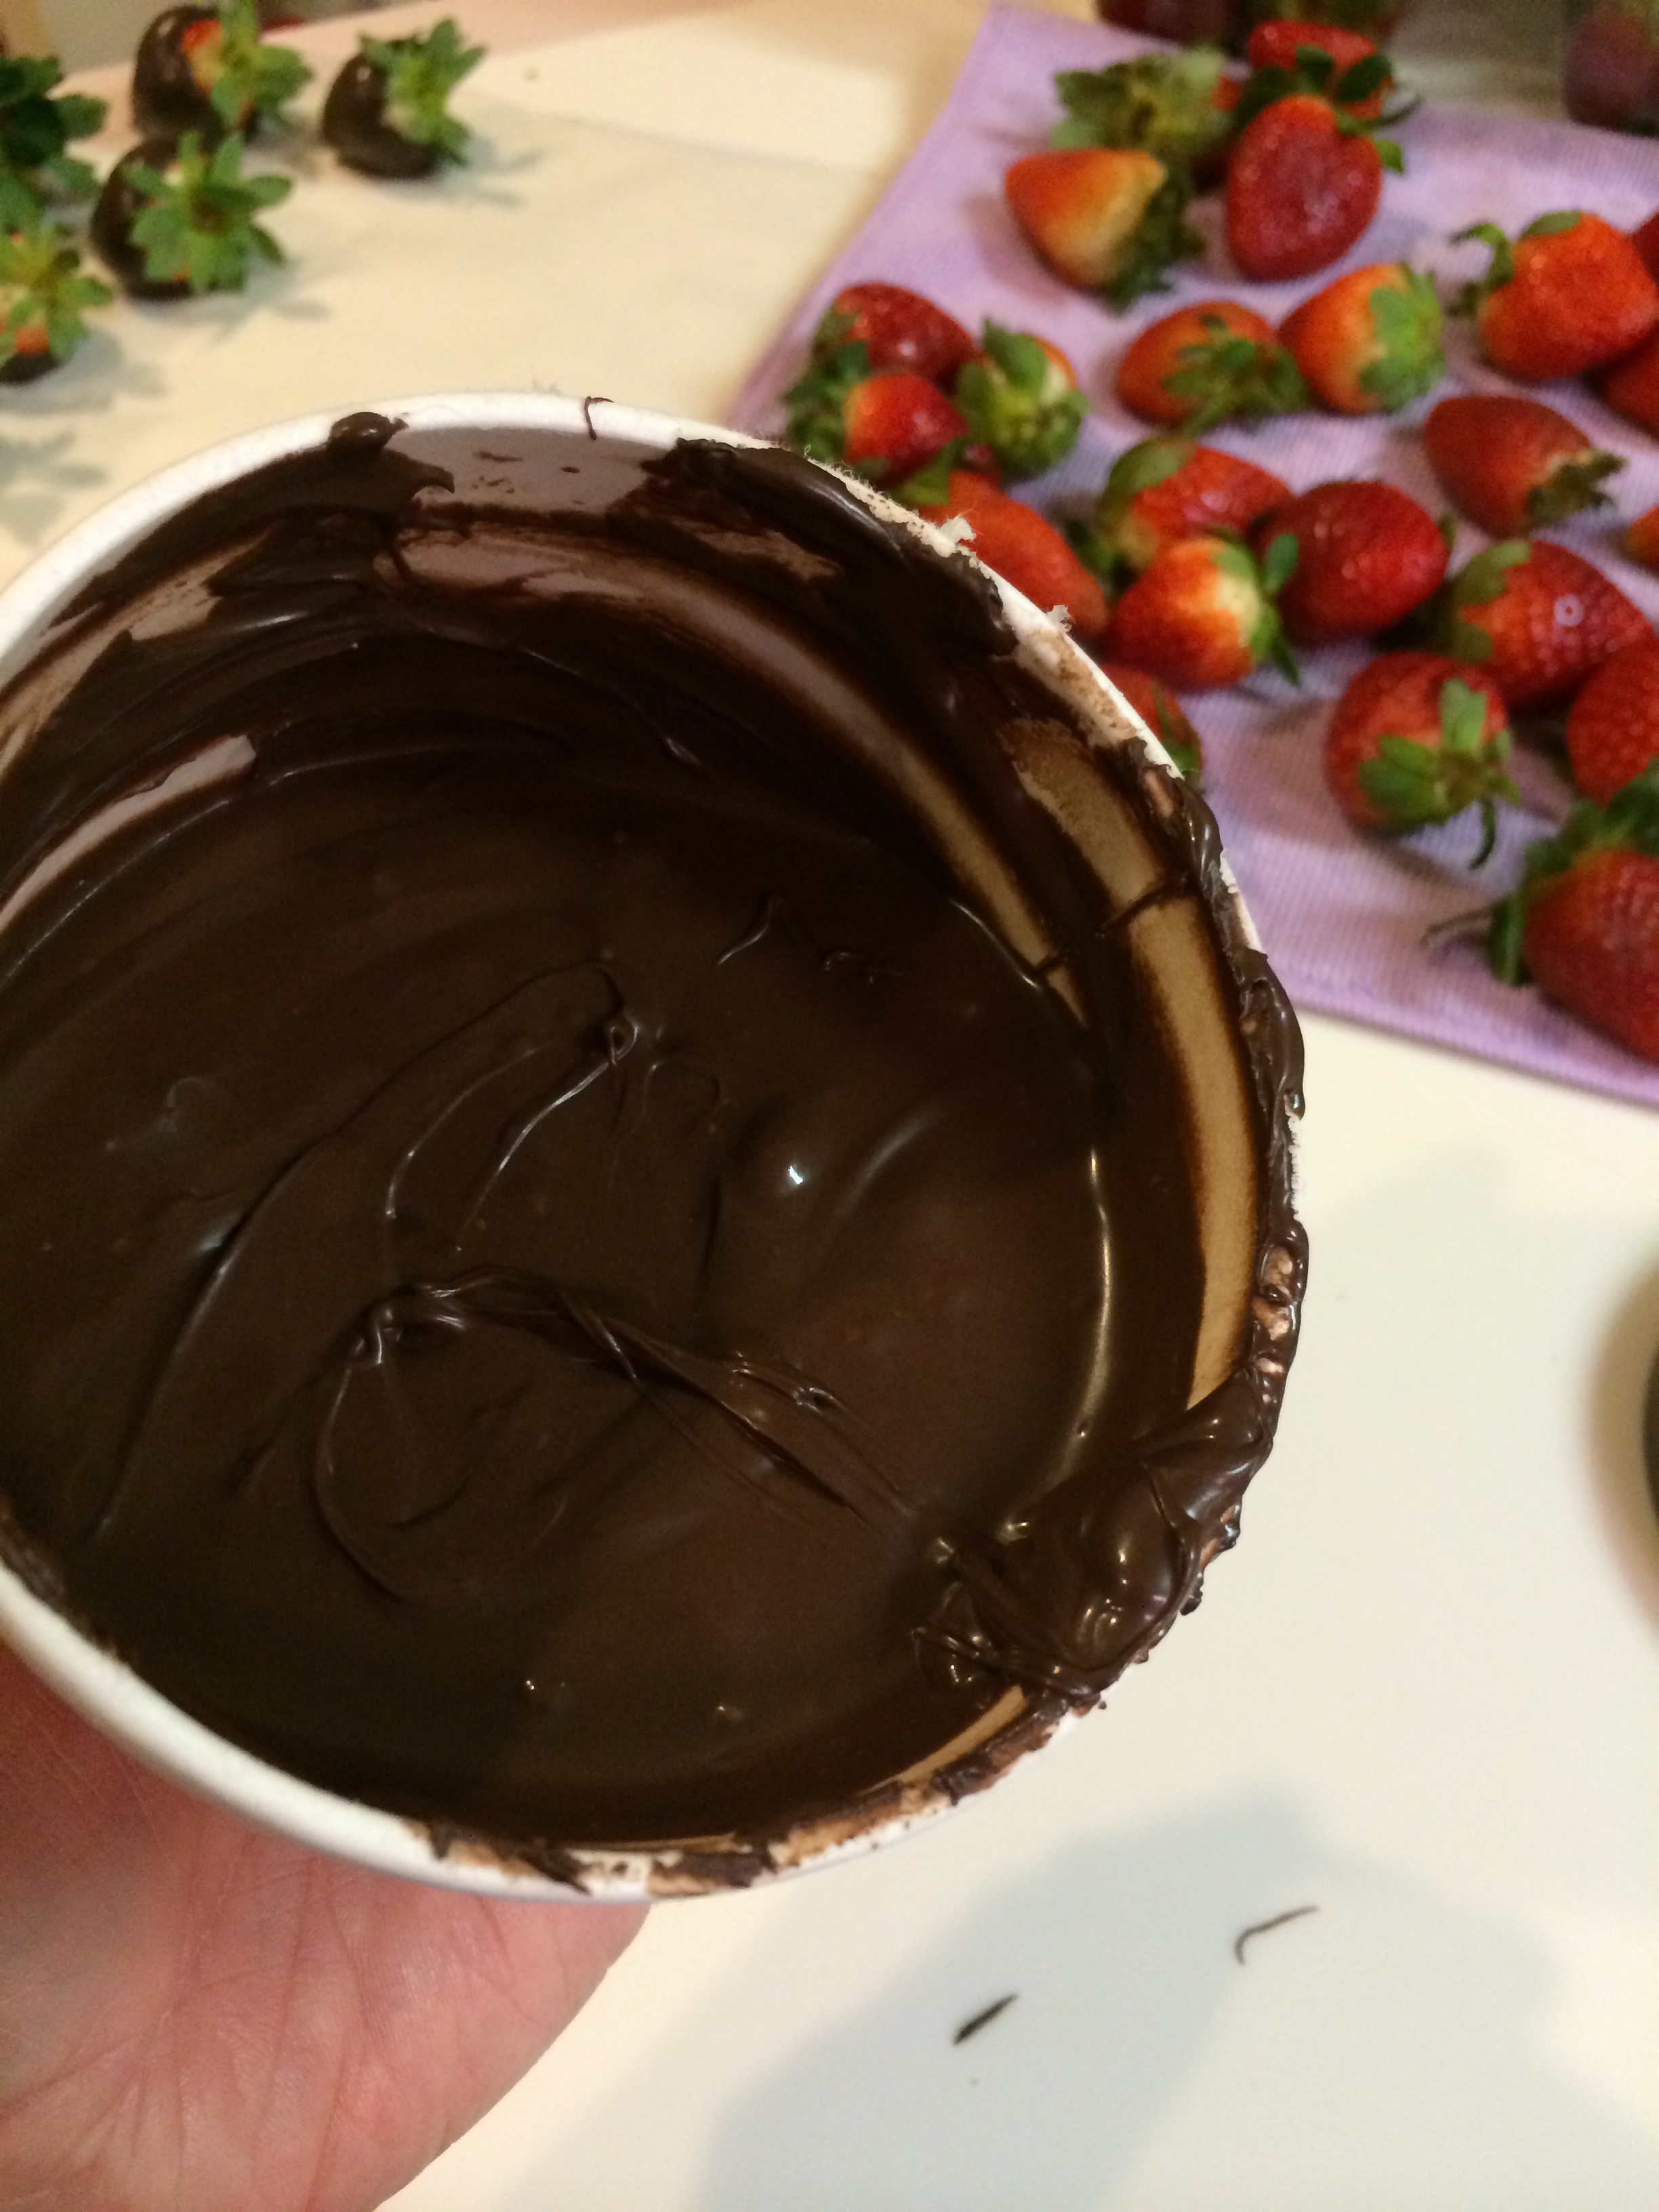
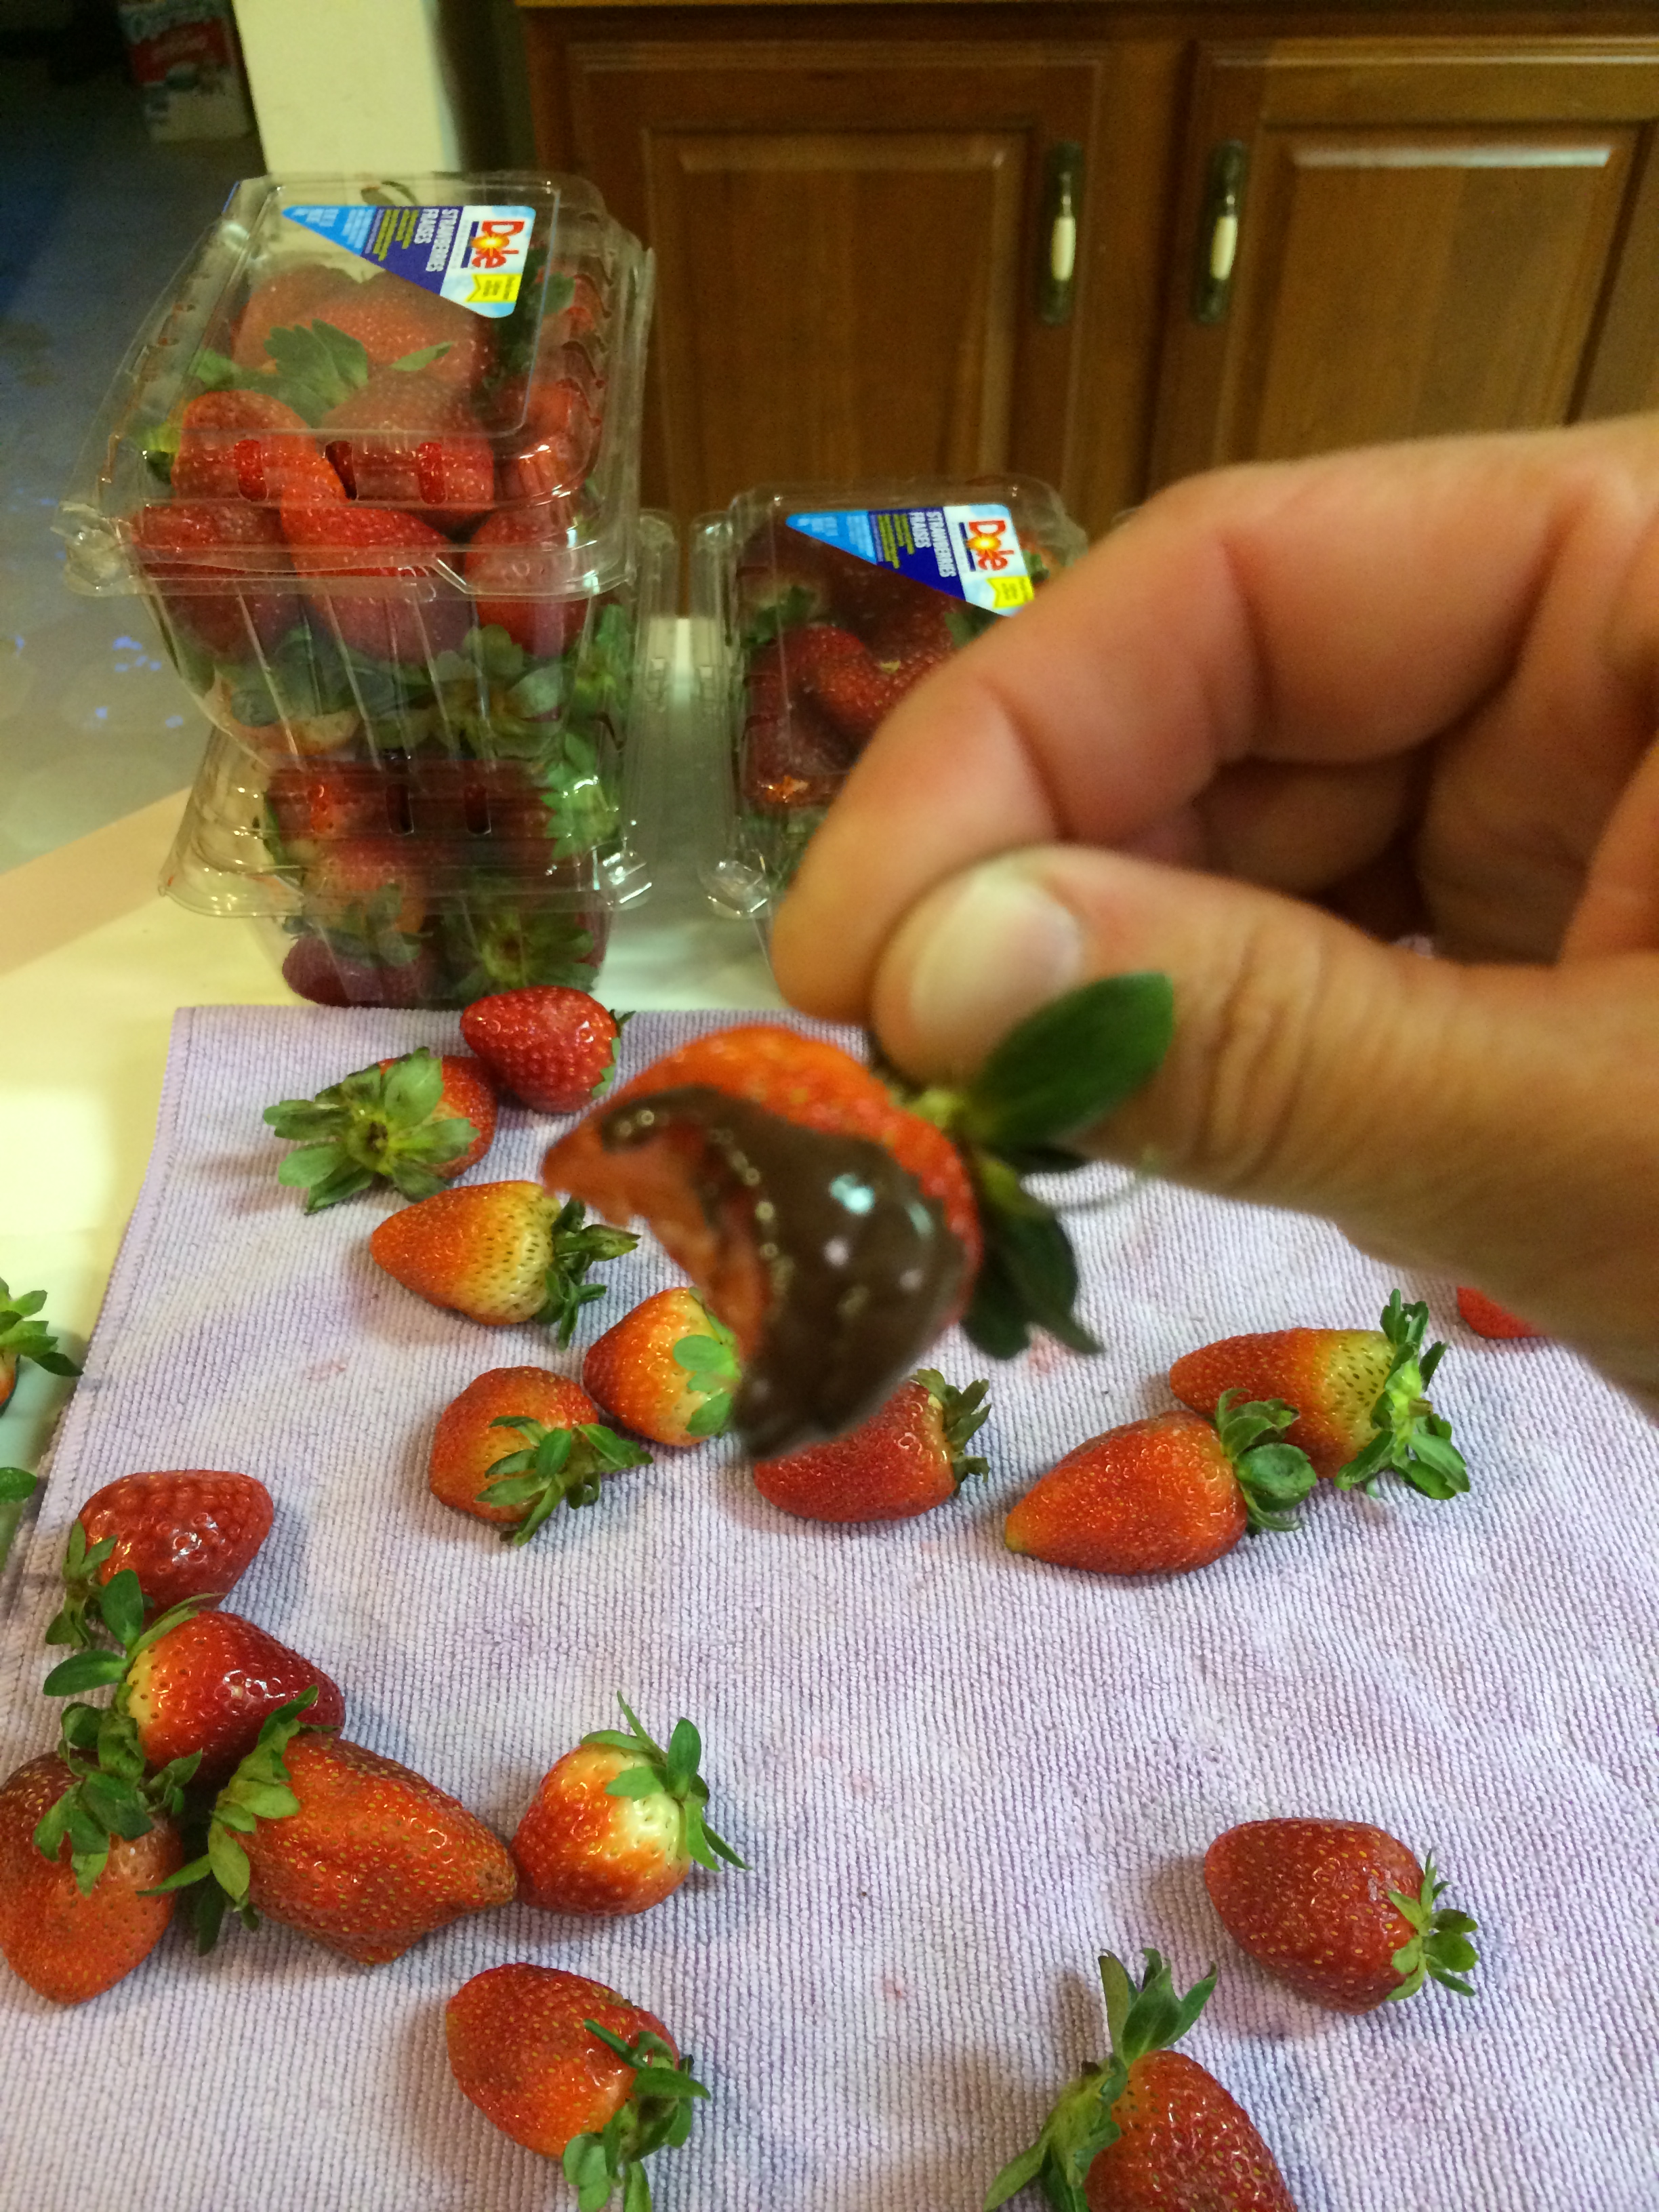
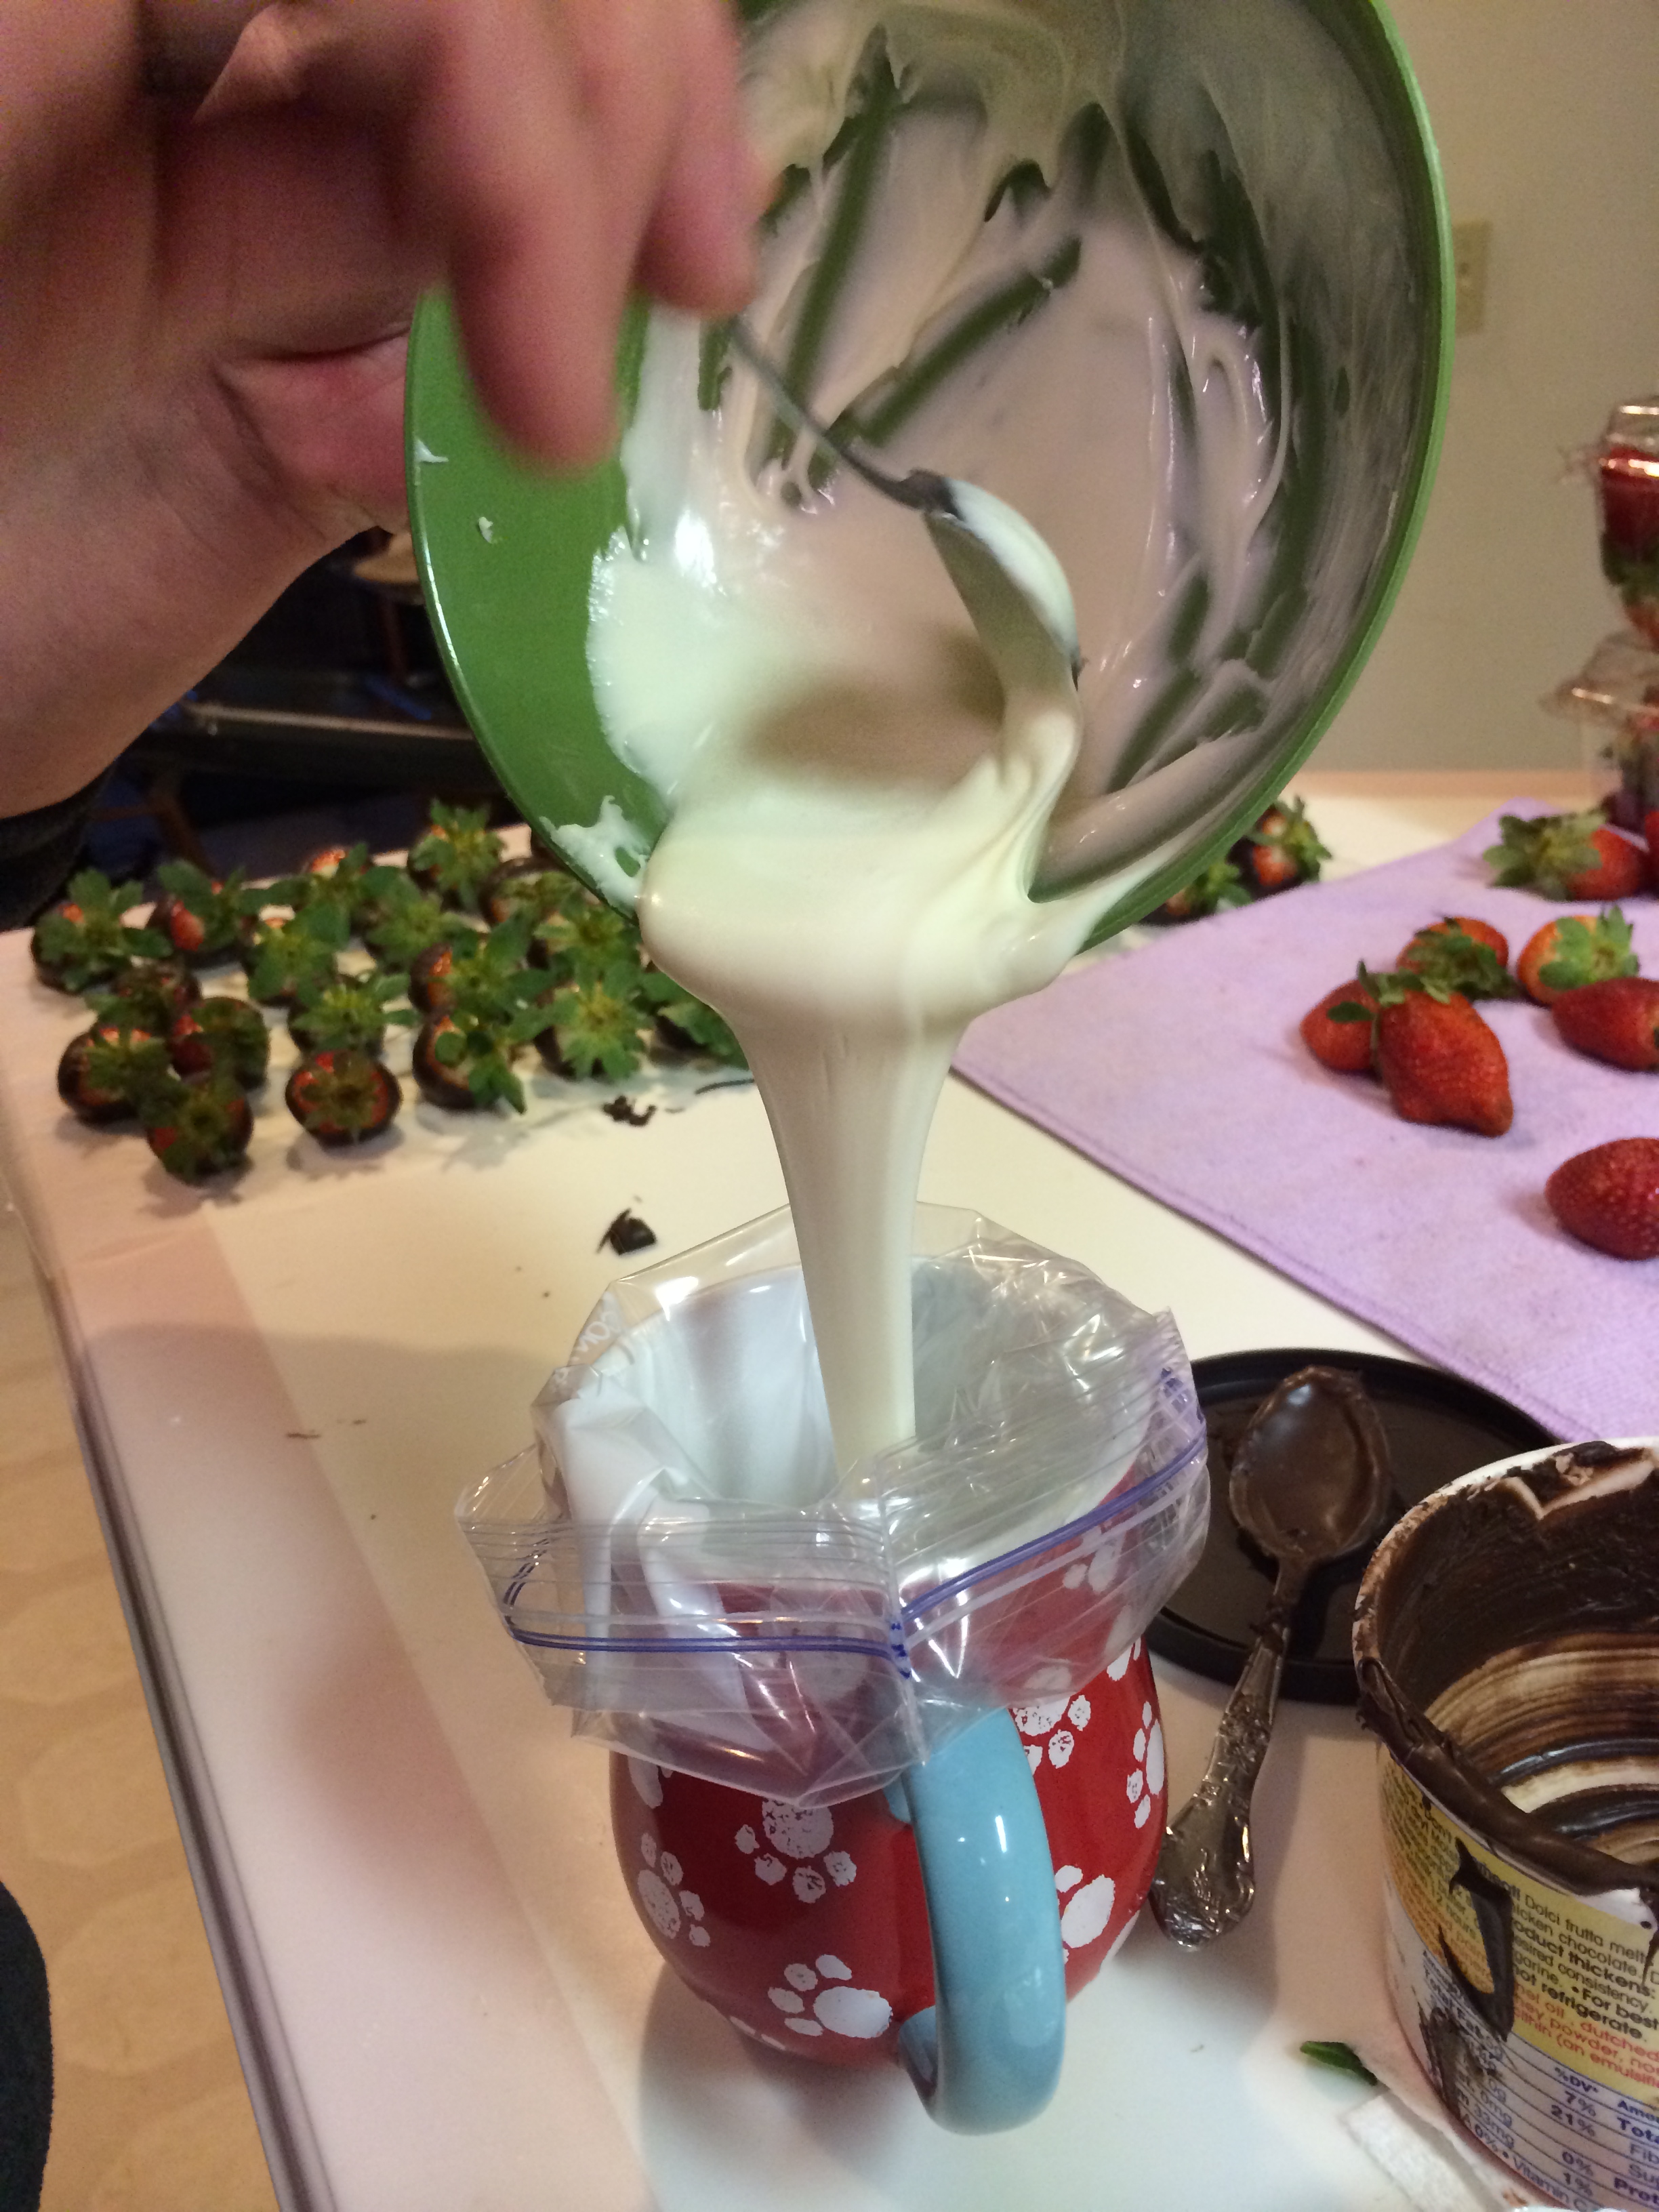
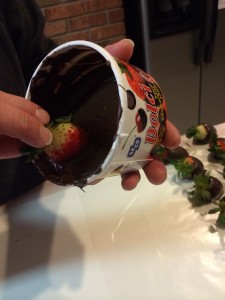 as much chocolate you can to one side to give the deepest “pool” of chocolate in which to dip the strawberries. Start with the biggest strawberries and gently but firmly (that makes no sense, I know) hold by the leaves (or stem if you are lucky enough to get some with stems) and dip in the chocolate. Dangle for a second to get the chocolate to stop dripping and lay on wax paper. Repeat repeat repeat. If a stem or leaves fall off while you are dipping and a strawberry is lost at chocolate sea go in after it! Pull it out with your fingers, plop it on the wax paper, and know which one you’ll be taste testing first. You washed your hands before you started right?